SUMMARY OF SEMESTER TWO'S WORKS BY TANIA TAN

INTRODUCTION

Computation in Design 2 is a module that is divided into four main parts. Each component teaches a different thing and as a whole, it allows us to explore a wide variation through the usage of materials, advanced technology through projection mapping, AR modelling, and even going back to the basics of creating a simple paper circuit. This semester allows us to explore different techniques and experiment.

WORKSHOPS 1 – 4

Over the semester, four different workshops were covered, doing very different things. The workshops are under Creative Coding, Projection Mapping, Making, and Physical Computing. Through this microsite, you will be able to find some documentation of each workshop, including some thoughts and reflections. Most of the activities done were completed within groups of threes.

1. CODING
AR Model

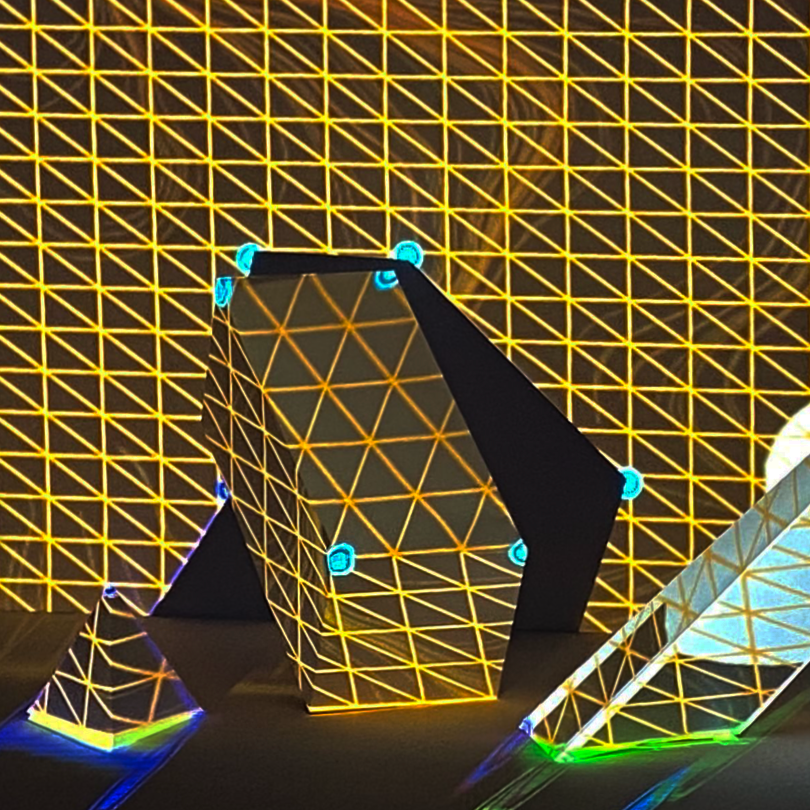
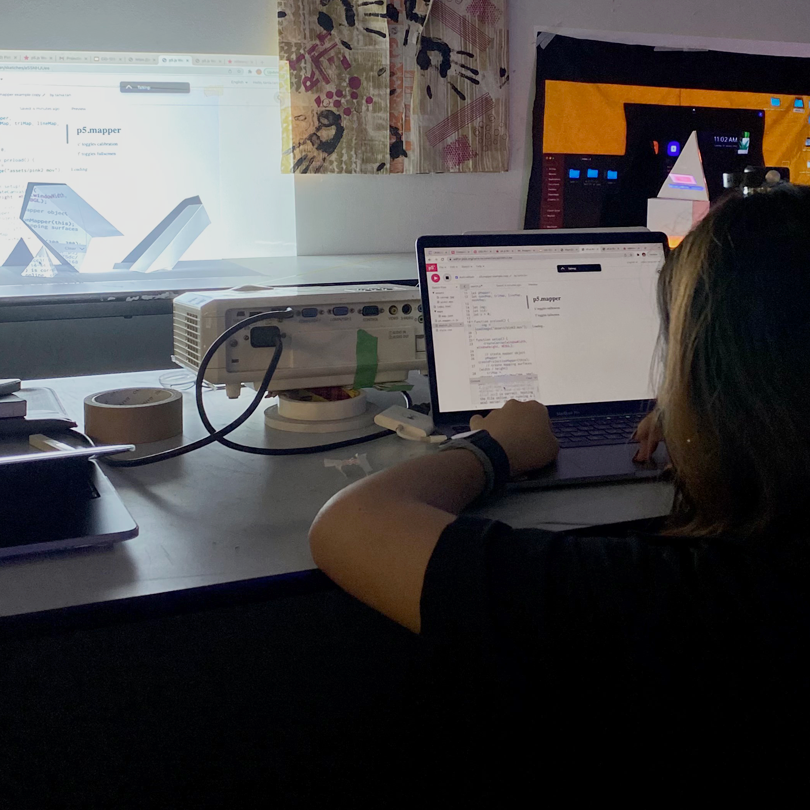
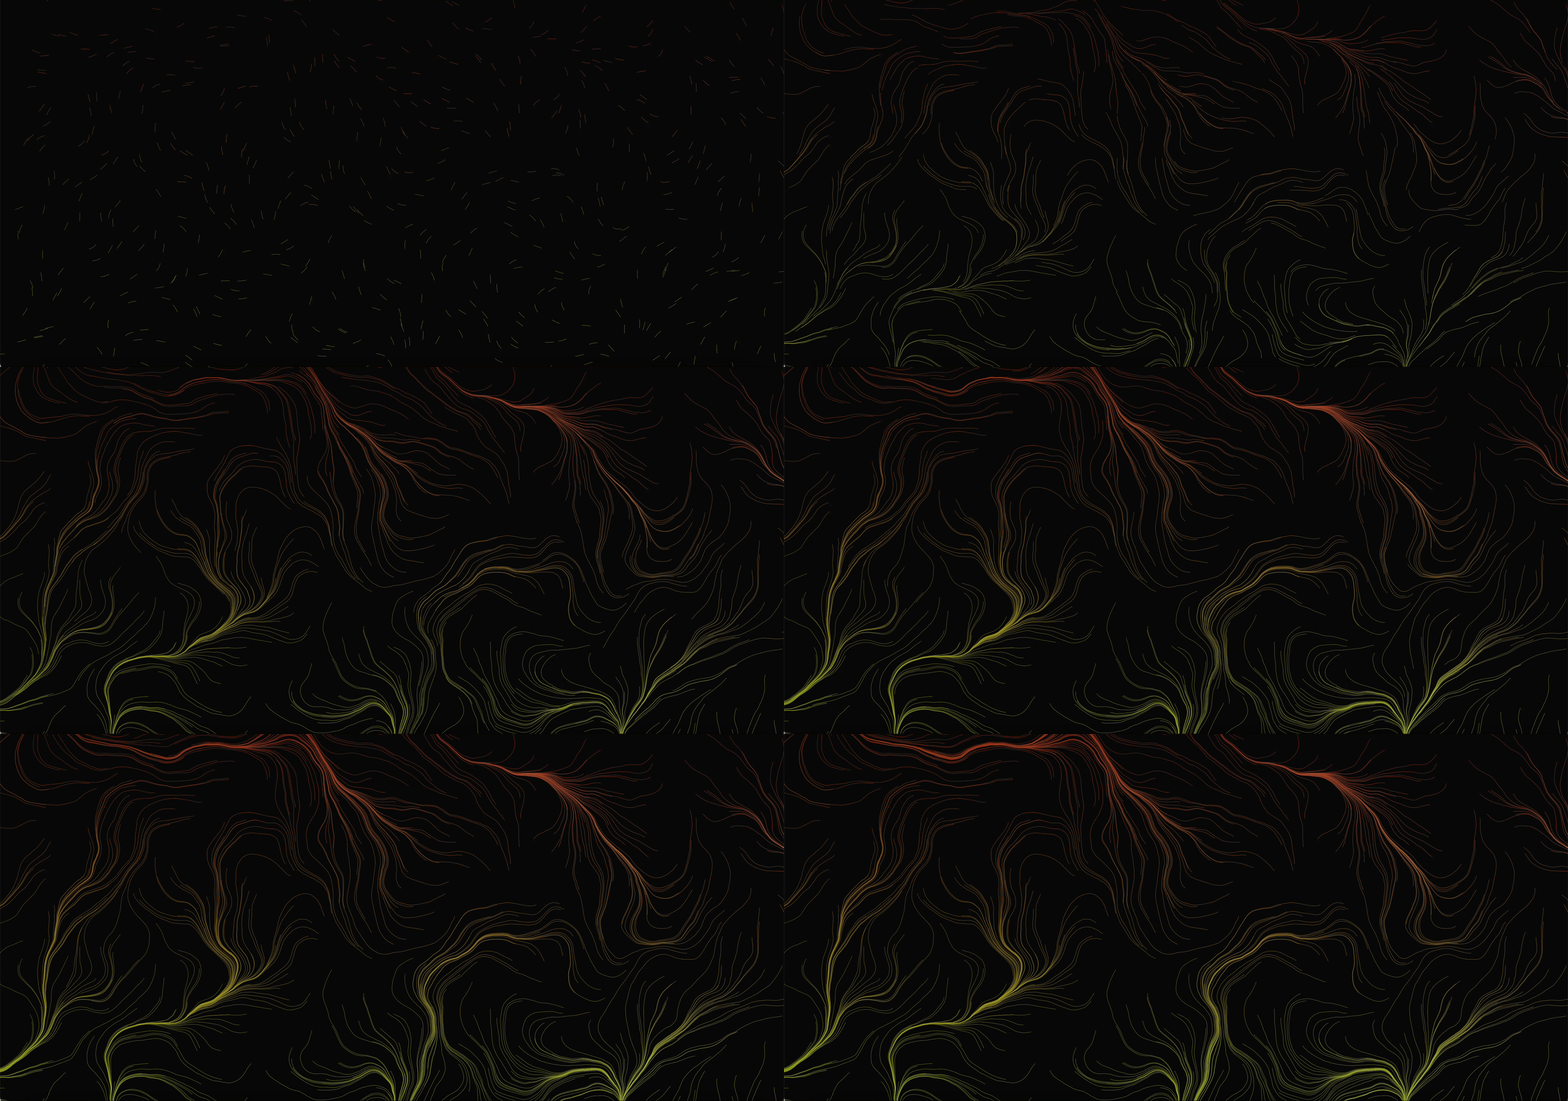
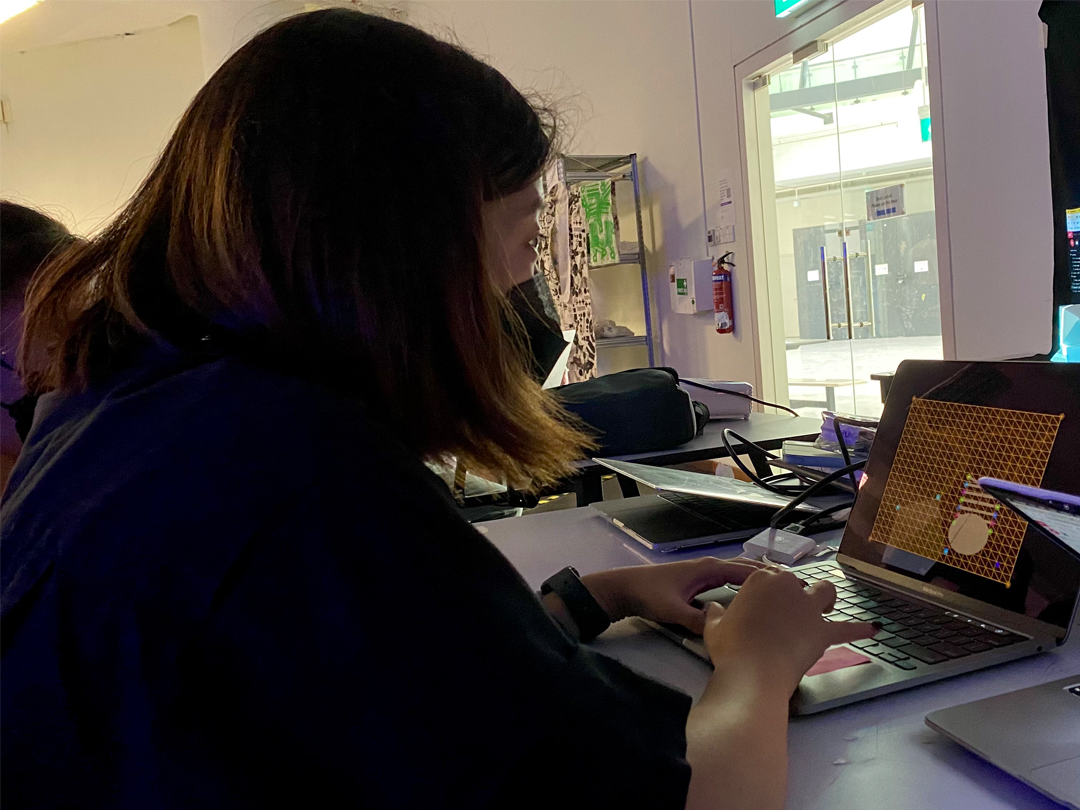
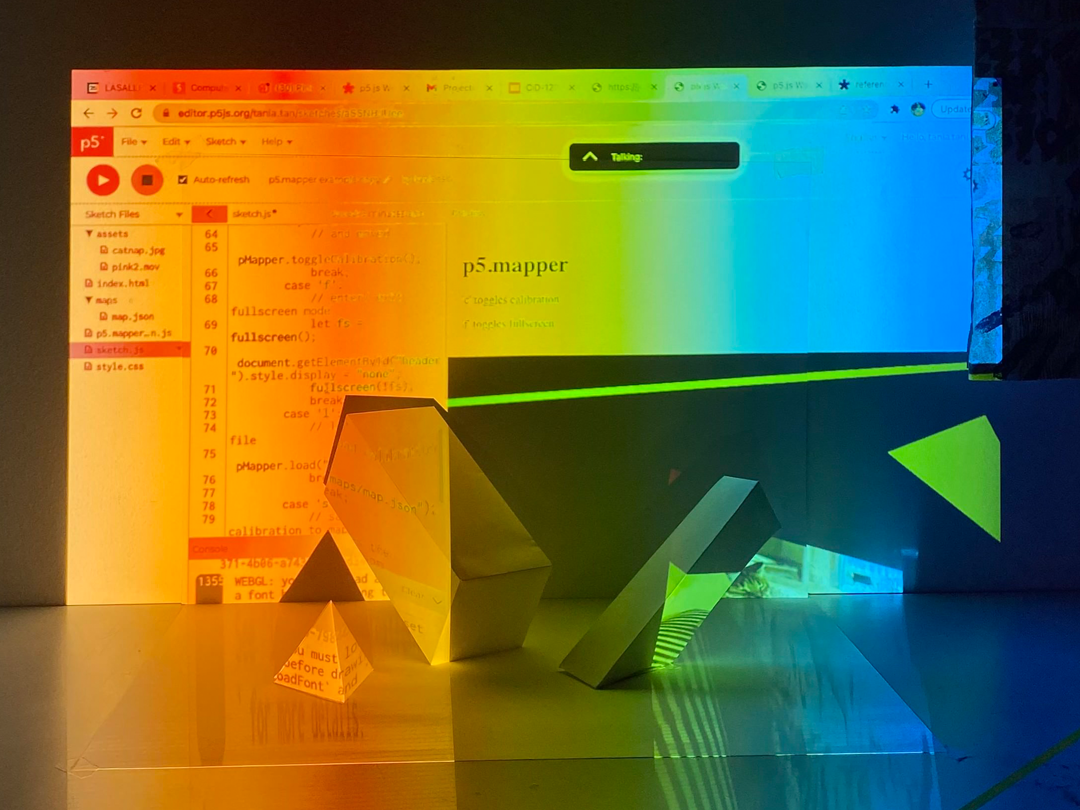
Rearranging the variety of folded shapes made me and my group mates decide for quite some time as we had to see the angle of projection and how many sides of the shapes would be shone on. Adjusting the code was a struggle as we thought of inserting a pre-recorded version of our p5js media. For more than half the duration of the class, lots of trial and error were made. Code and calibration had to be readjusted to fit the shapes in the position and we had to make sure not to shift the objects. We decided to use the pre-recorded media as the background and while adjusting the calibration and discovered that we could project a shape's reflection with a different colour, thus using a different type of surface.

Throughout the two weeks of briefly learning about projection mapping, I felt that I enjoyed the process as it made me appreciate projected works a lot more, such as the Night to Light festival at the National Gallery Museum, which happens annually. Furthermore, getting to create shapes and playing with the code was really fascinating.

No doubt the coding portion was confusing at some point of time, but the end results were still enjoyable.

2. SCREENS
PROJECTION MAPPING

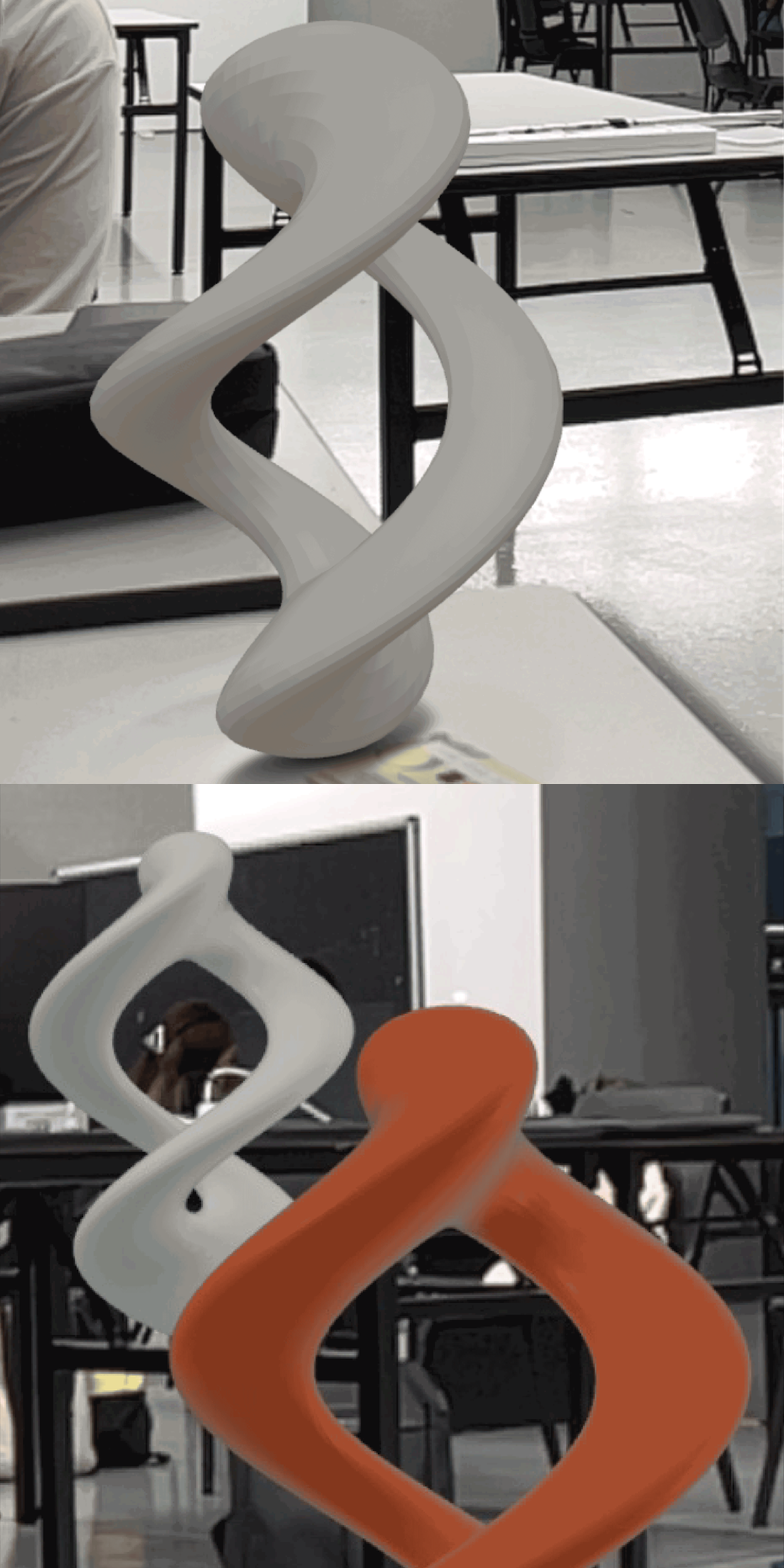
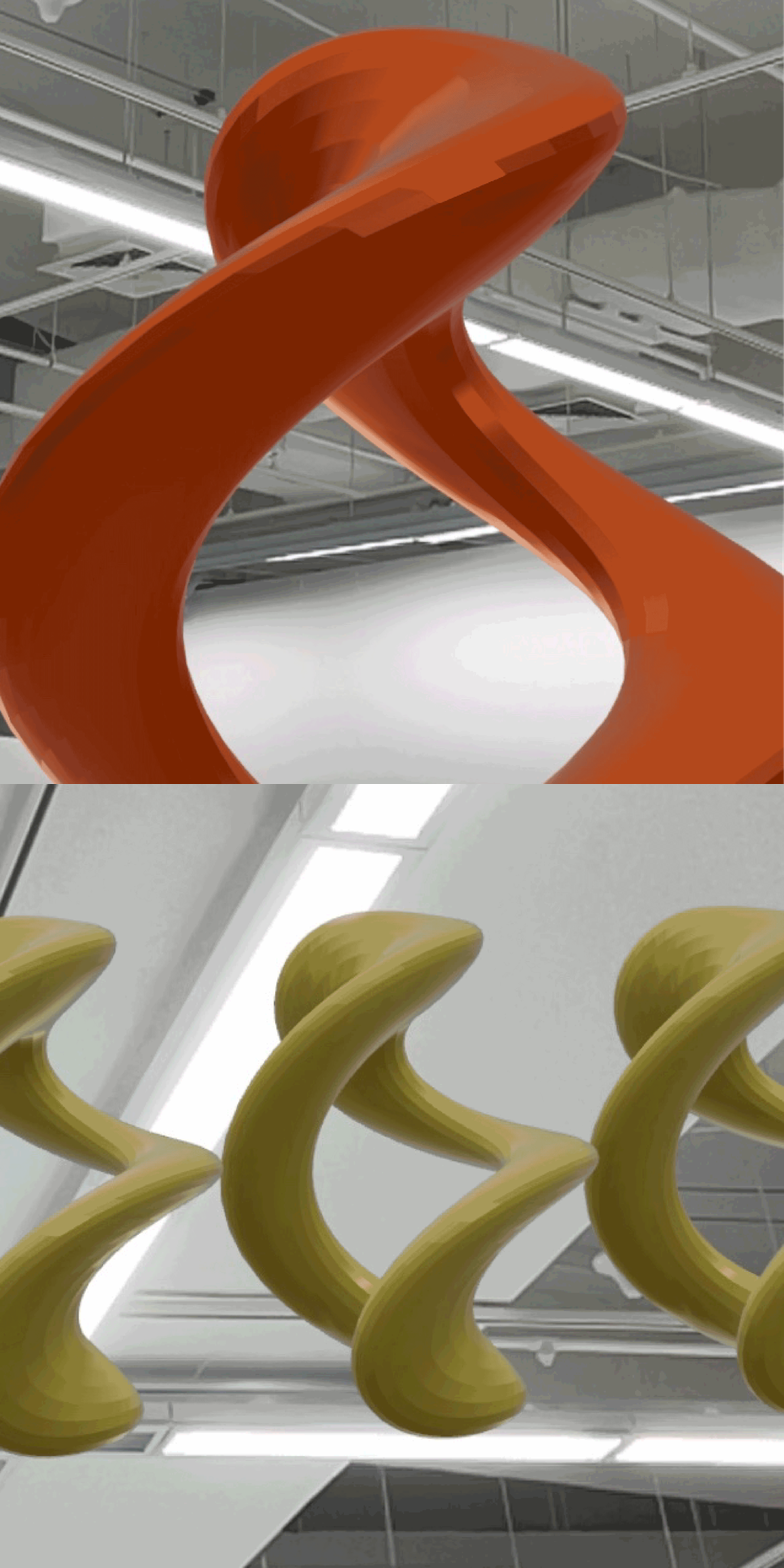
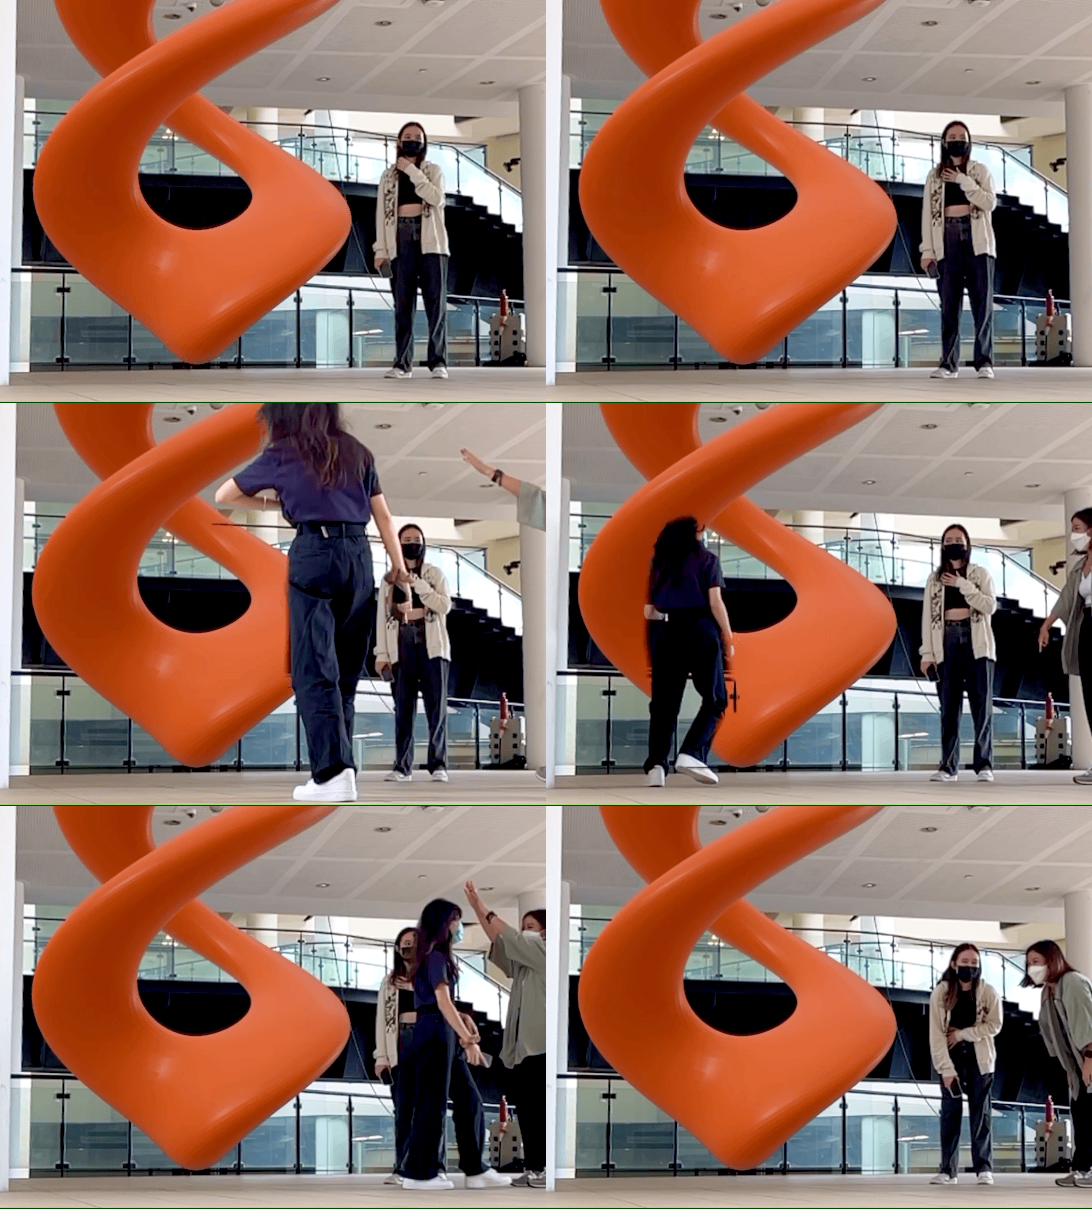
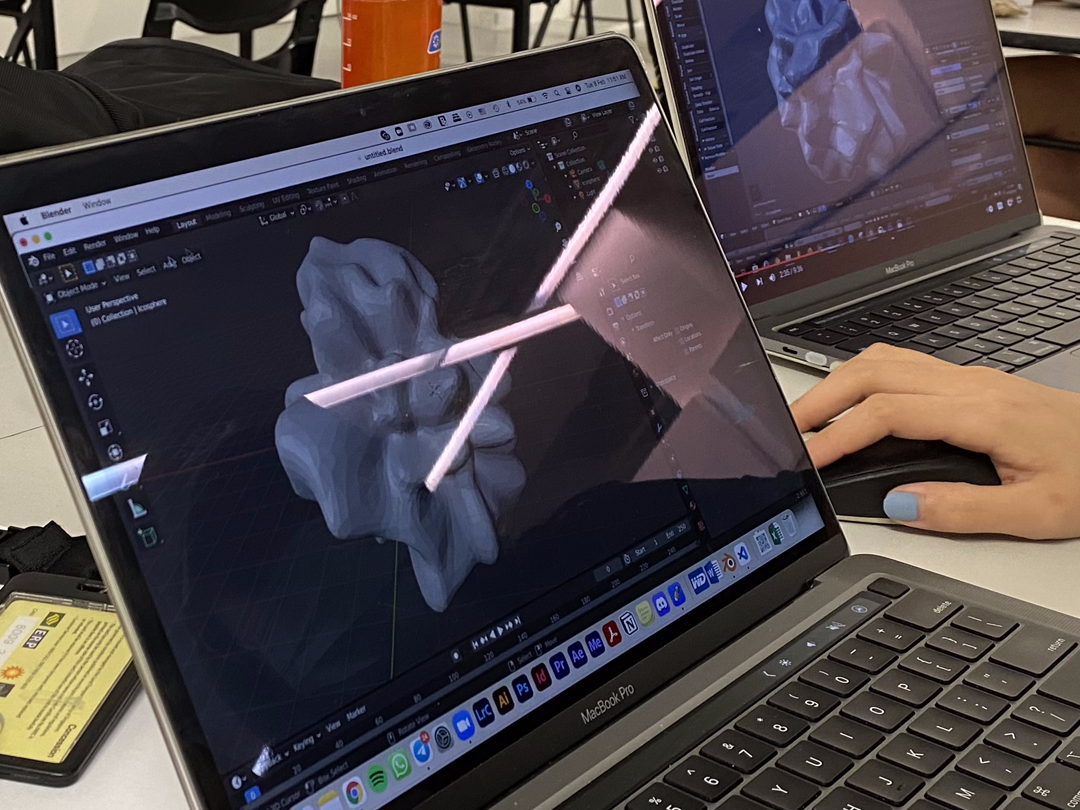
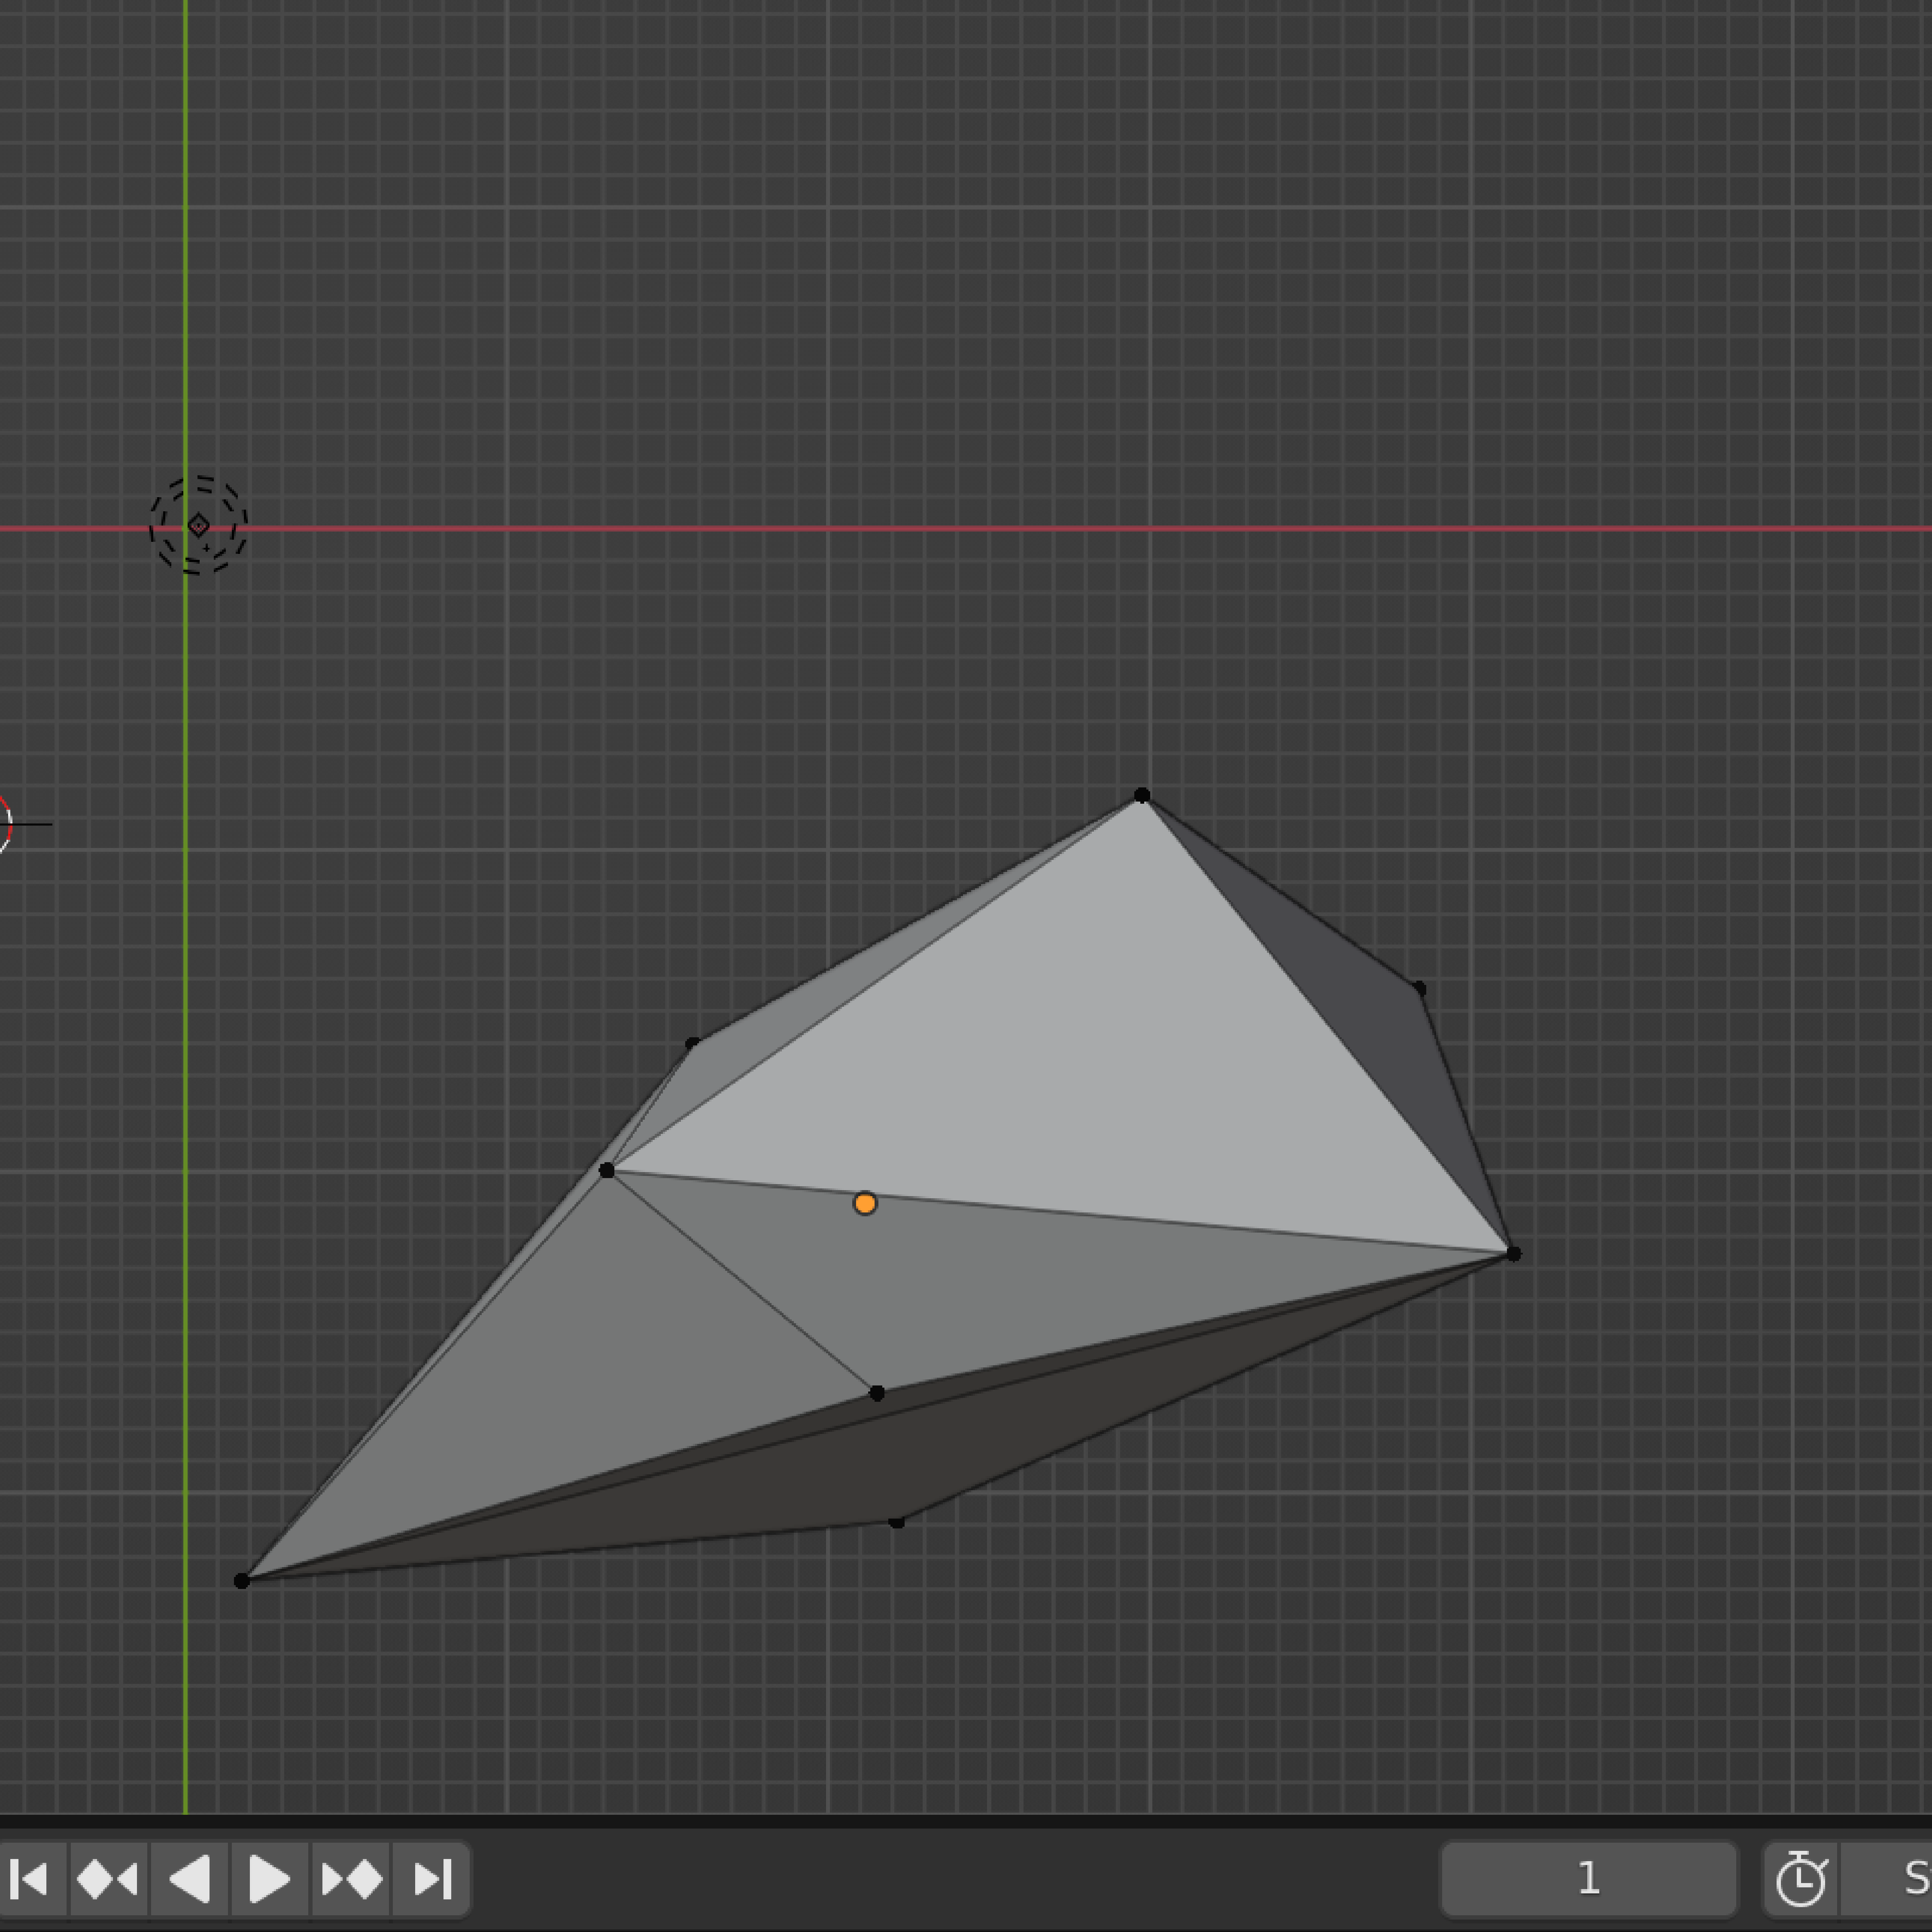
My group mates and I felt that since the opportunity presented itself, we should take the chance to familiarise ourselves with the software, Blender, as it would be helpful for future projects. Exploring the software by using YouTube tutorials to guide us, we each tried different tutorials to achieve different outcomes. Narrowing it down to one tutorial, we adjusted the numeral settings as an experiment. What felt tough was following a tutorial that was uploaded years ago. Blender updated itself, which made the interface different, resulting in it being tough for us to follow immediately. We had to pause multiple times and play back just to catch the little actions.

We tried different ways to play with the texture, metallic effect, smoothness, and colour. We even tried switching it up by duplicating and changing the appearance a little before merging the models.

After multiple trials and errors, we were done and went around the campus to take pictures of our work in an actual environmental setting.

3. MAKING
FROM CODE TO THING

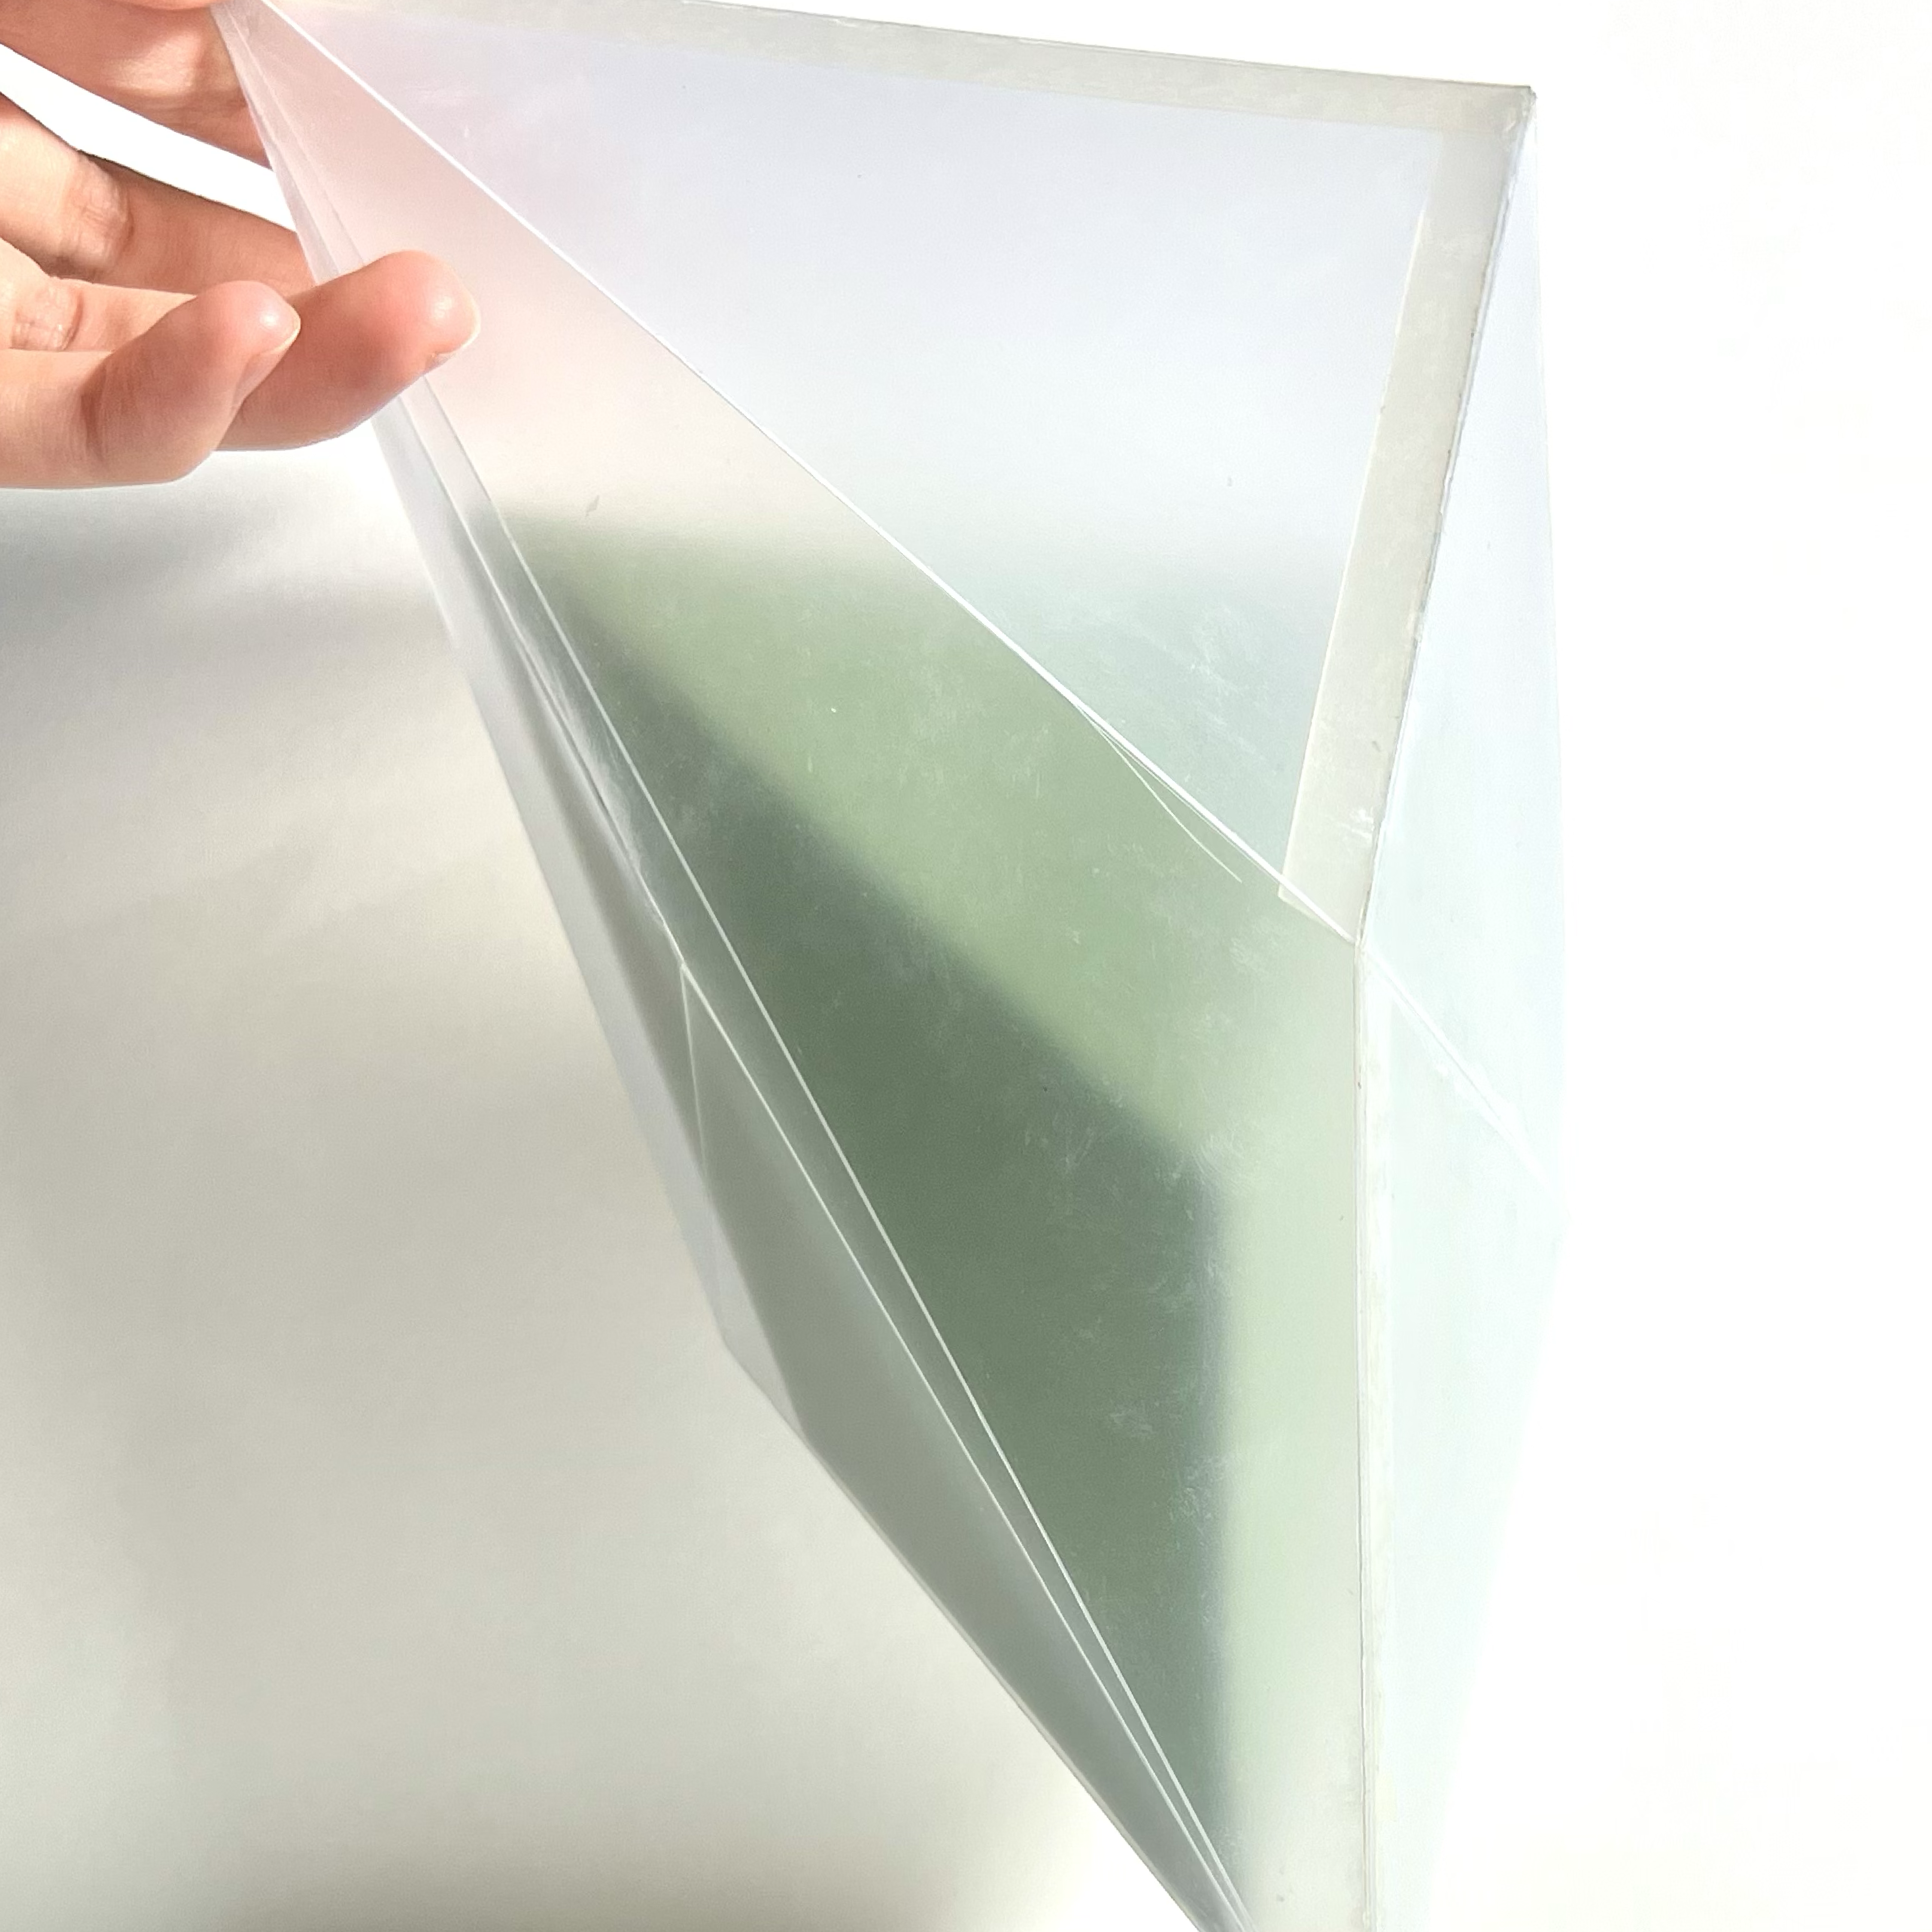
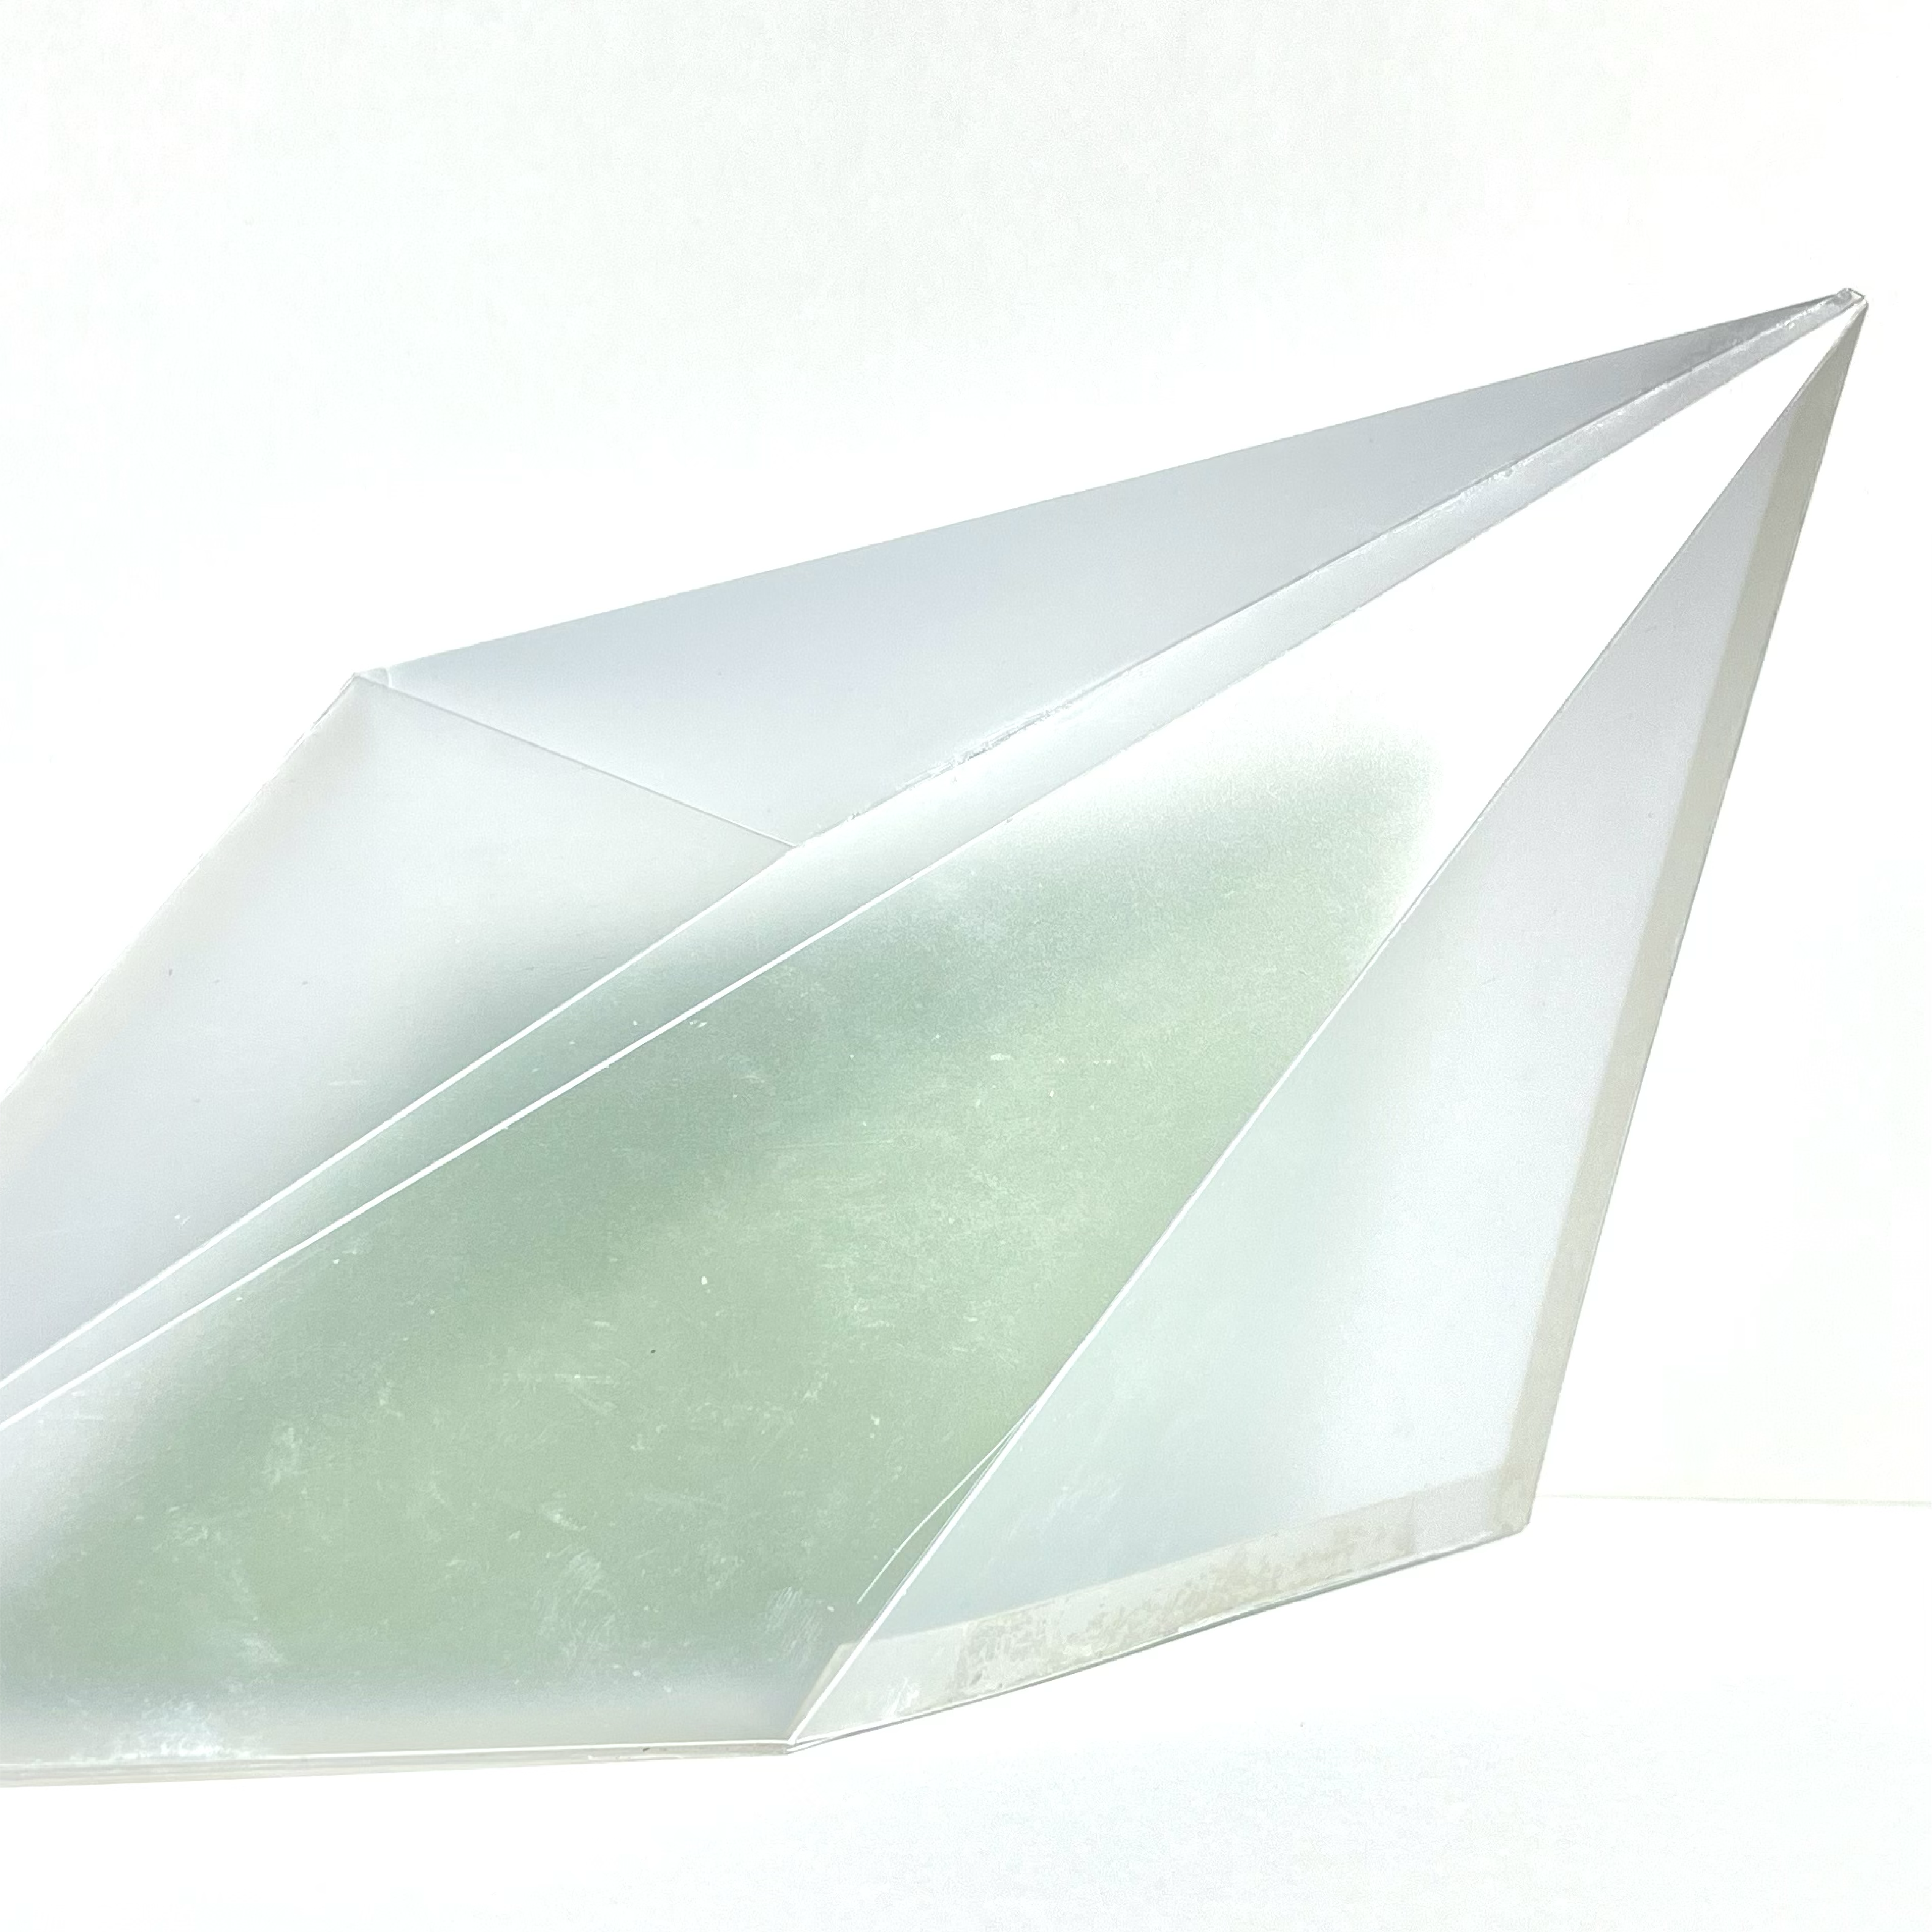
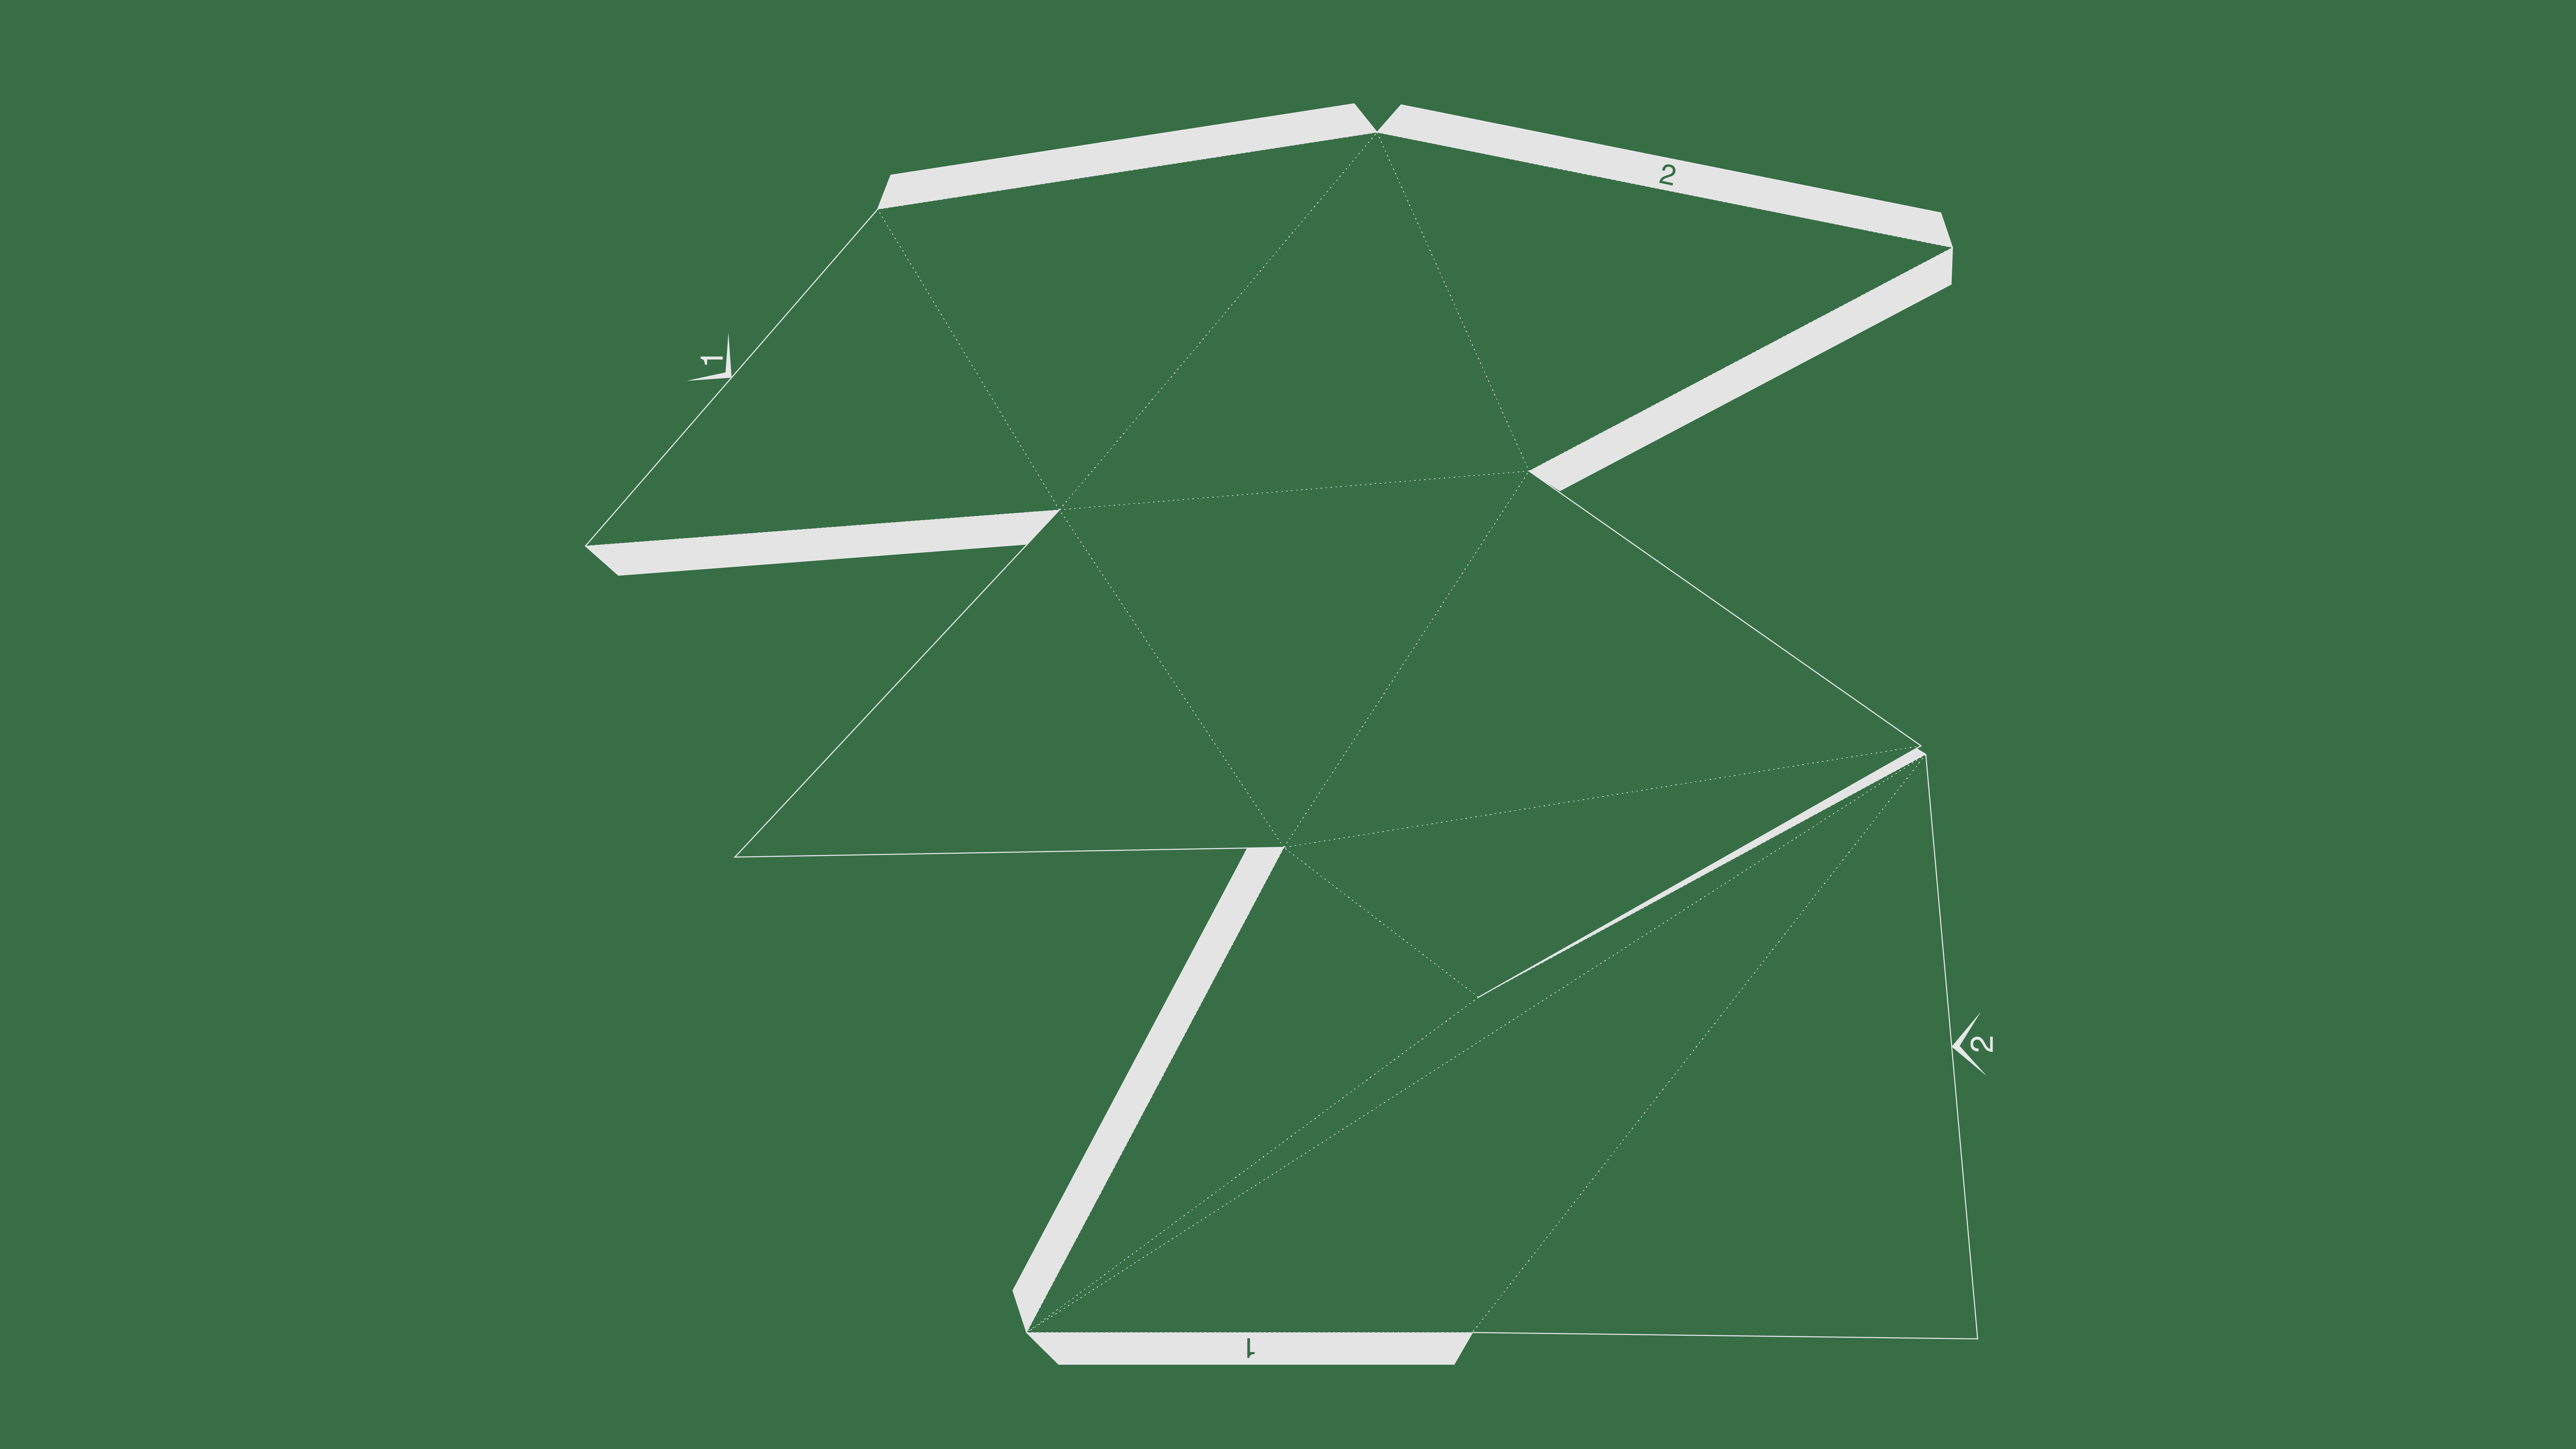
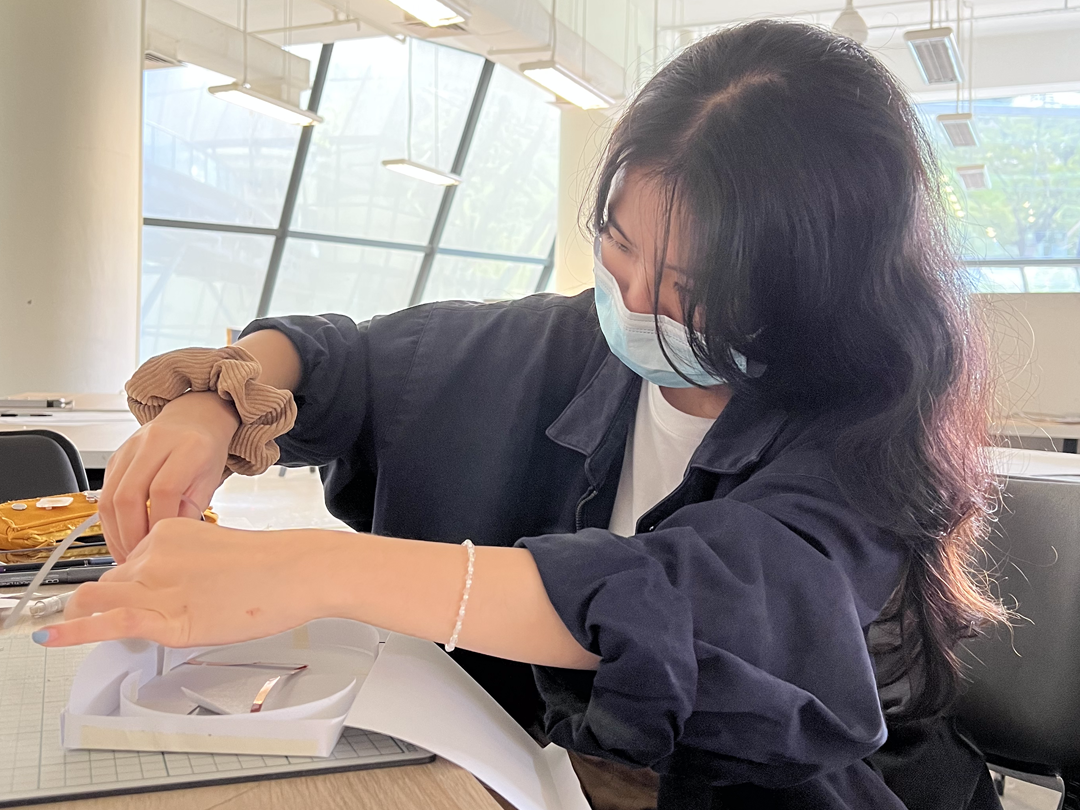
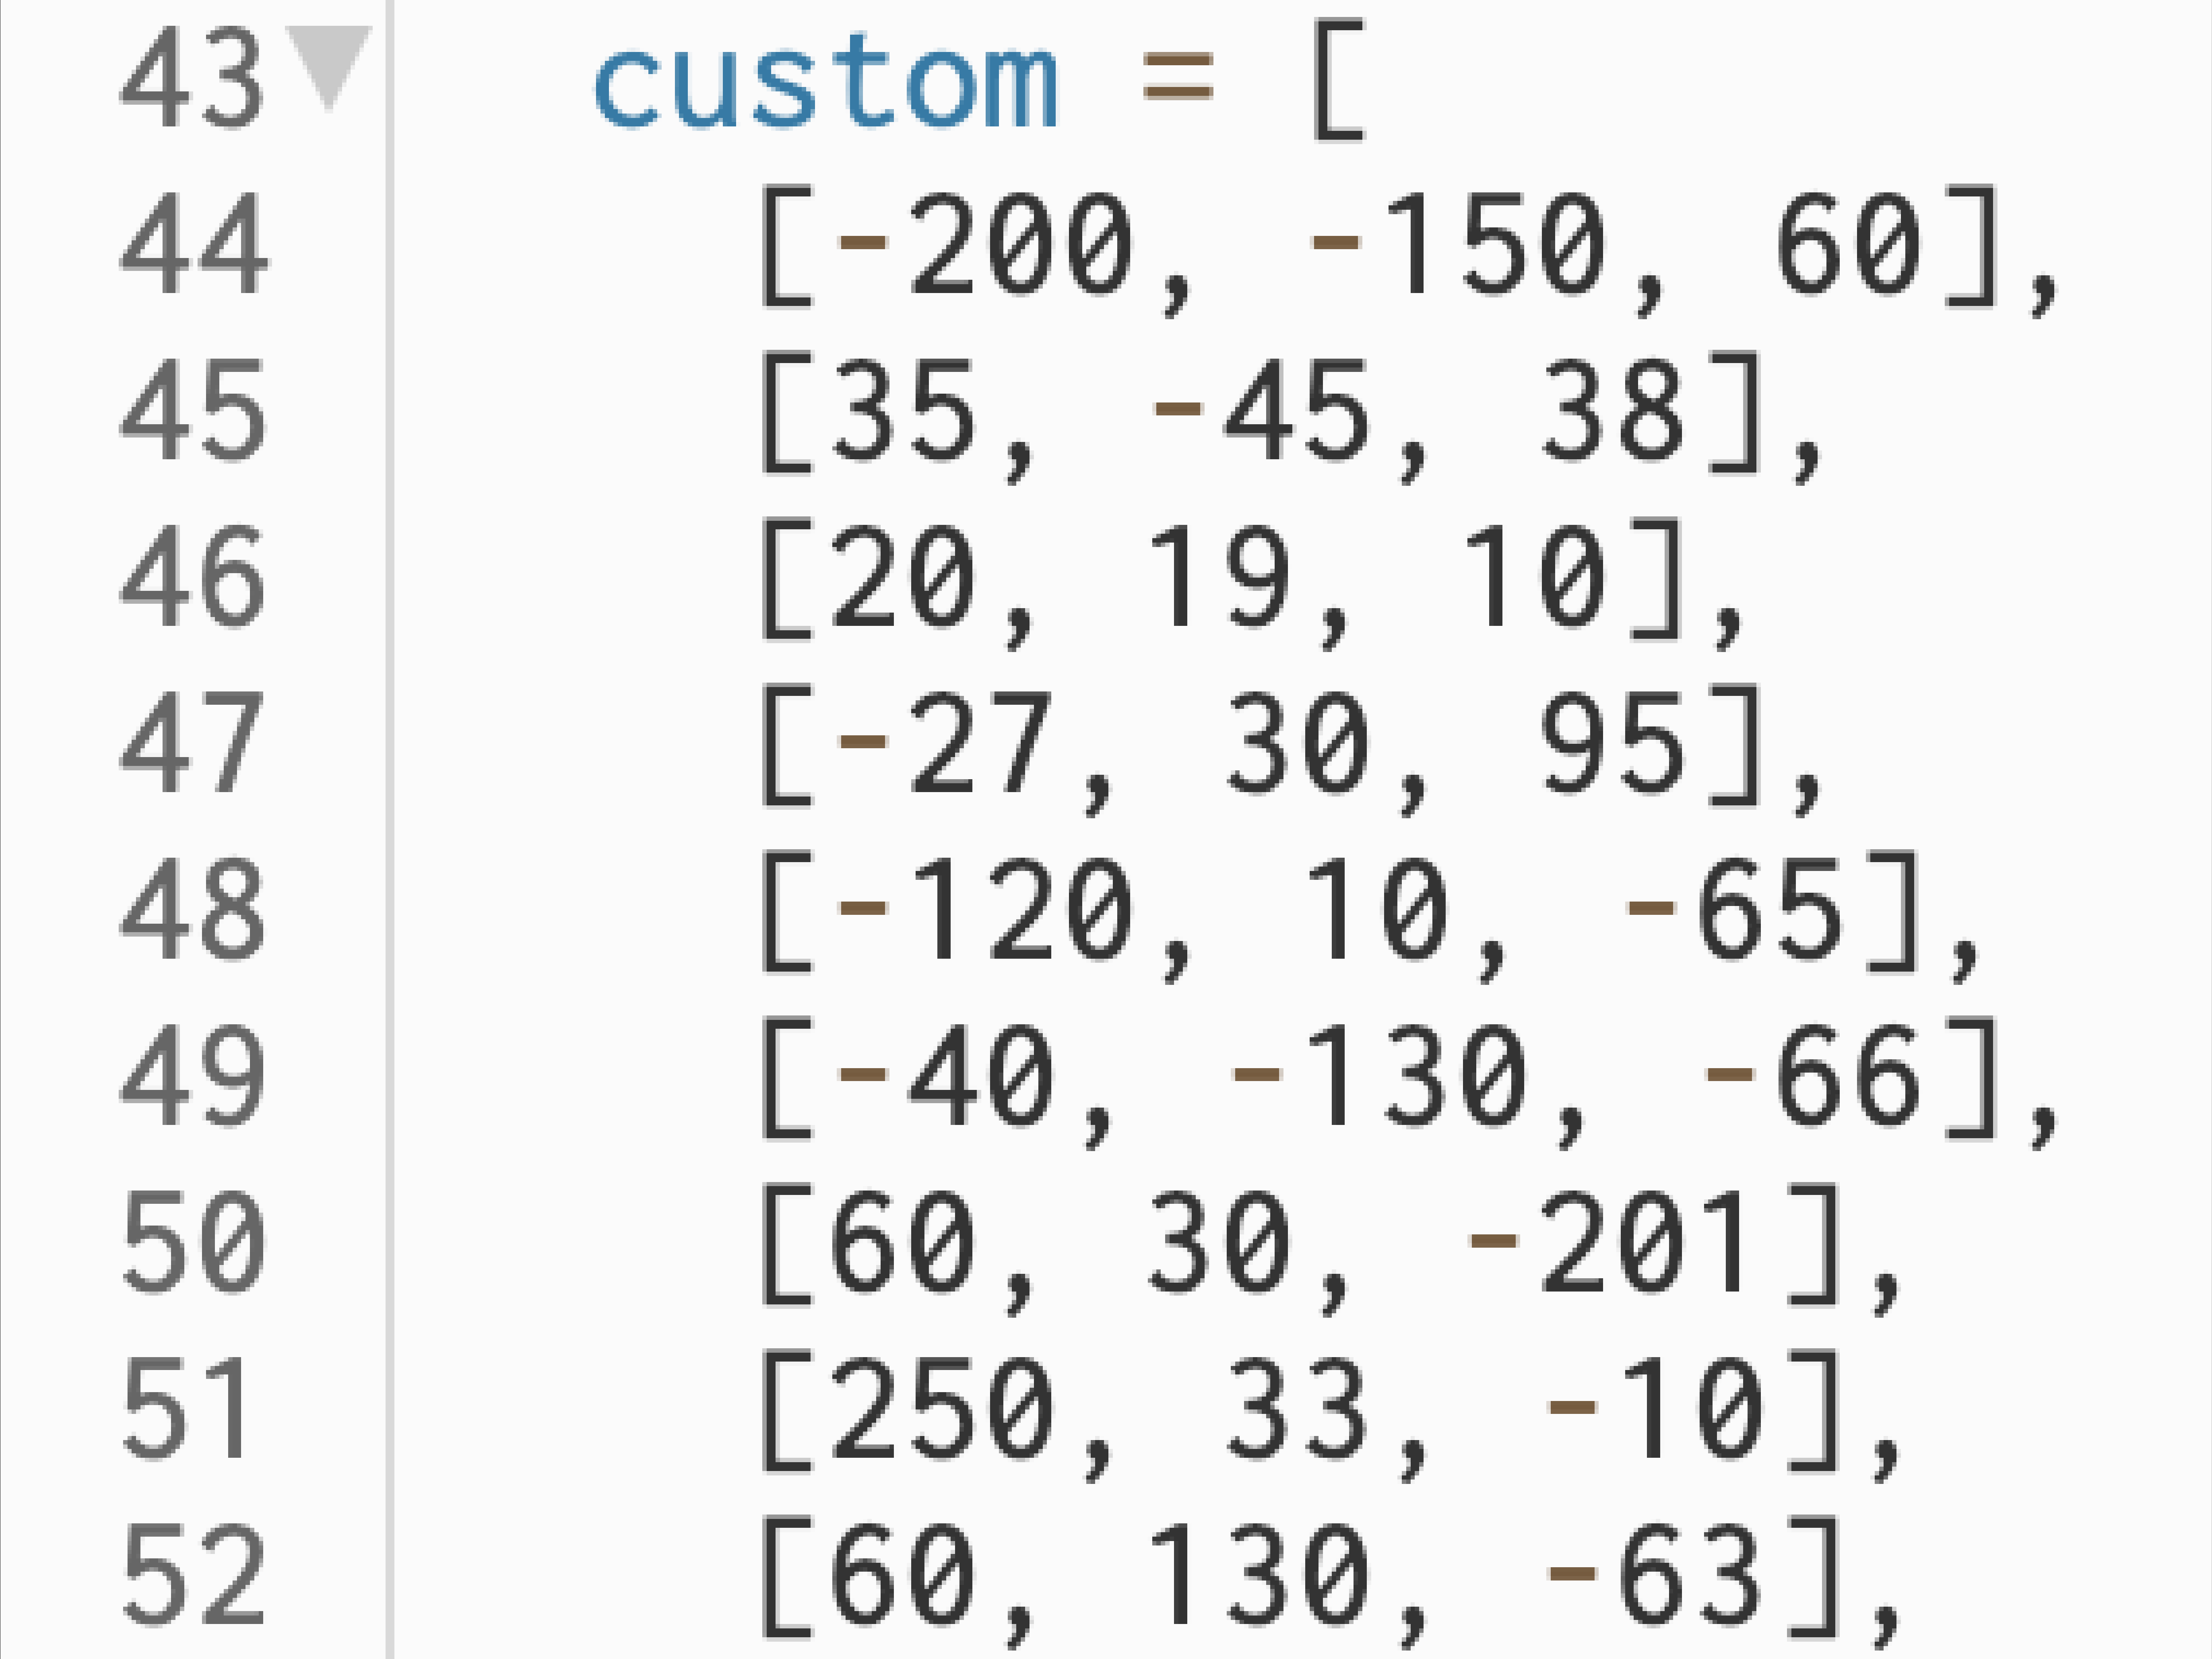
I looked into what type of paper/ colours/ textures I could use to create the geometric paper objects, came across an account for researchers, students, and companies to share their material creations and felt that the possibility of using such materials for print would be exciting as that would mean getting to play with colours, textures, translucency. Before changing the coordinates to something specific, I clicked on the “random” button to explore the polygon hull shapes. What felt interesting to me was how a 3D object could have an extension in the software for it to unfold so that we can build it from scratch. We had a crash course on how to use the spray mount and Dhiya reminded us that lighting was important when it came to documenting the photos.

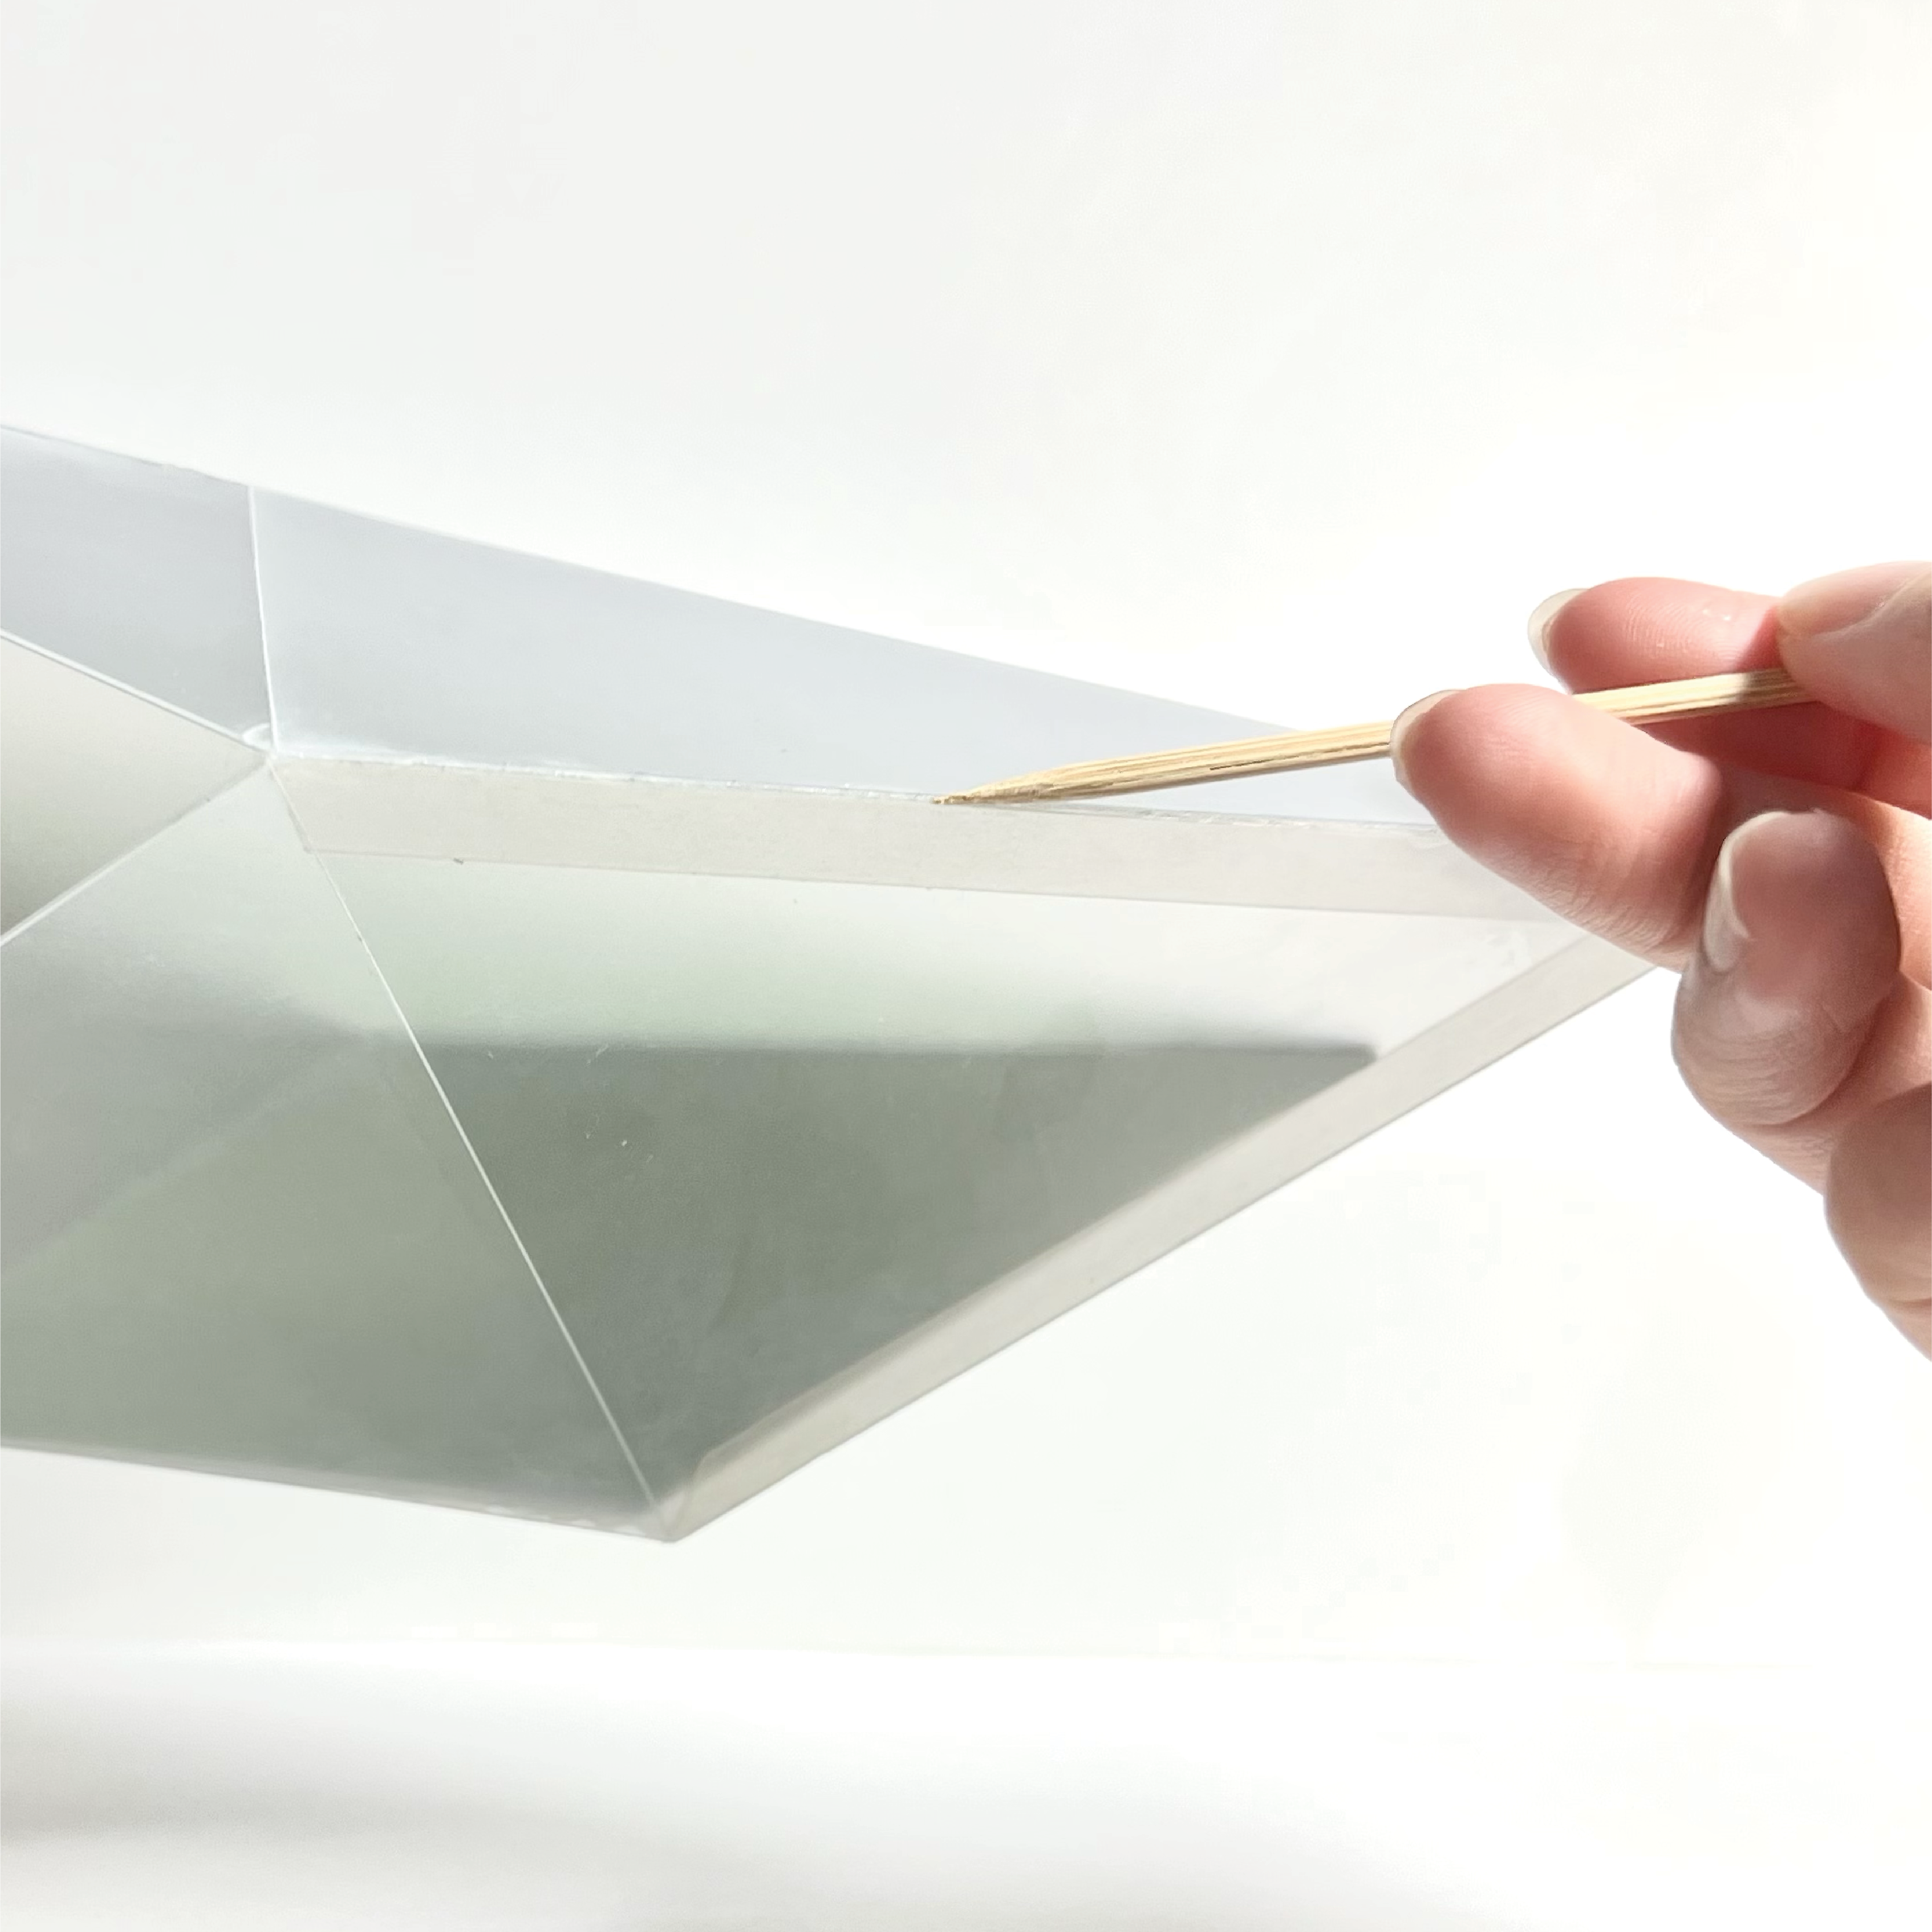
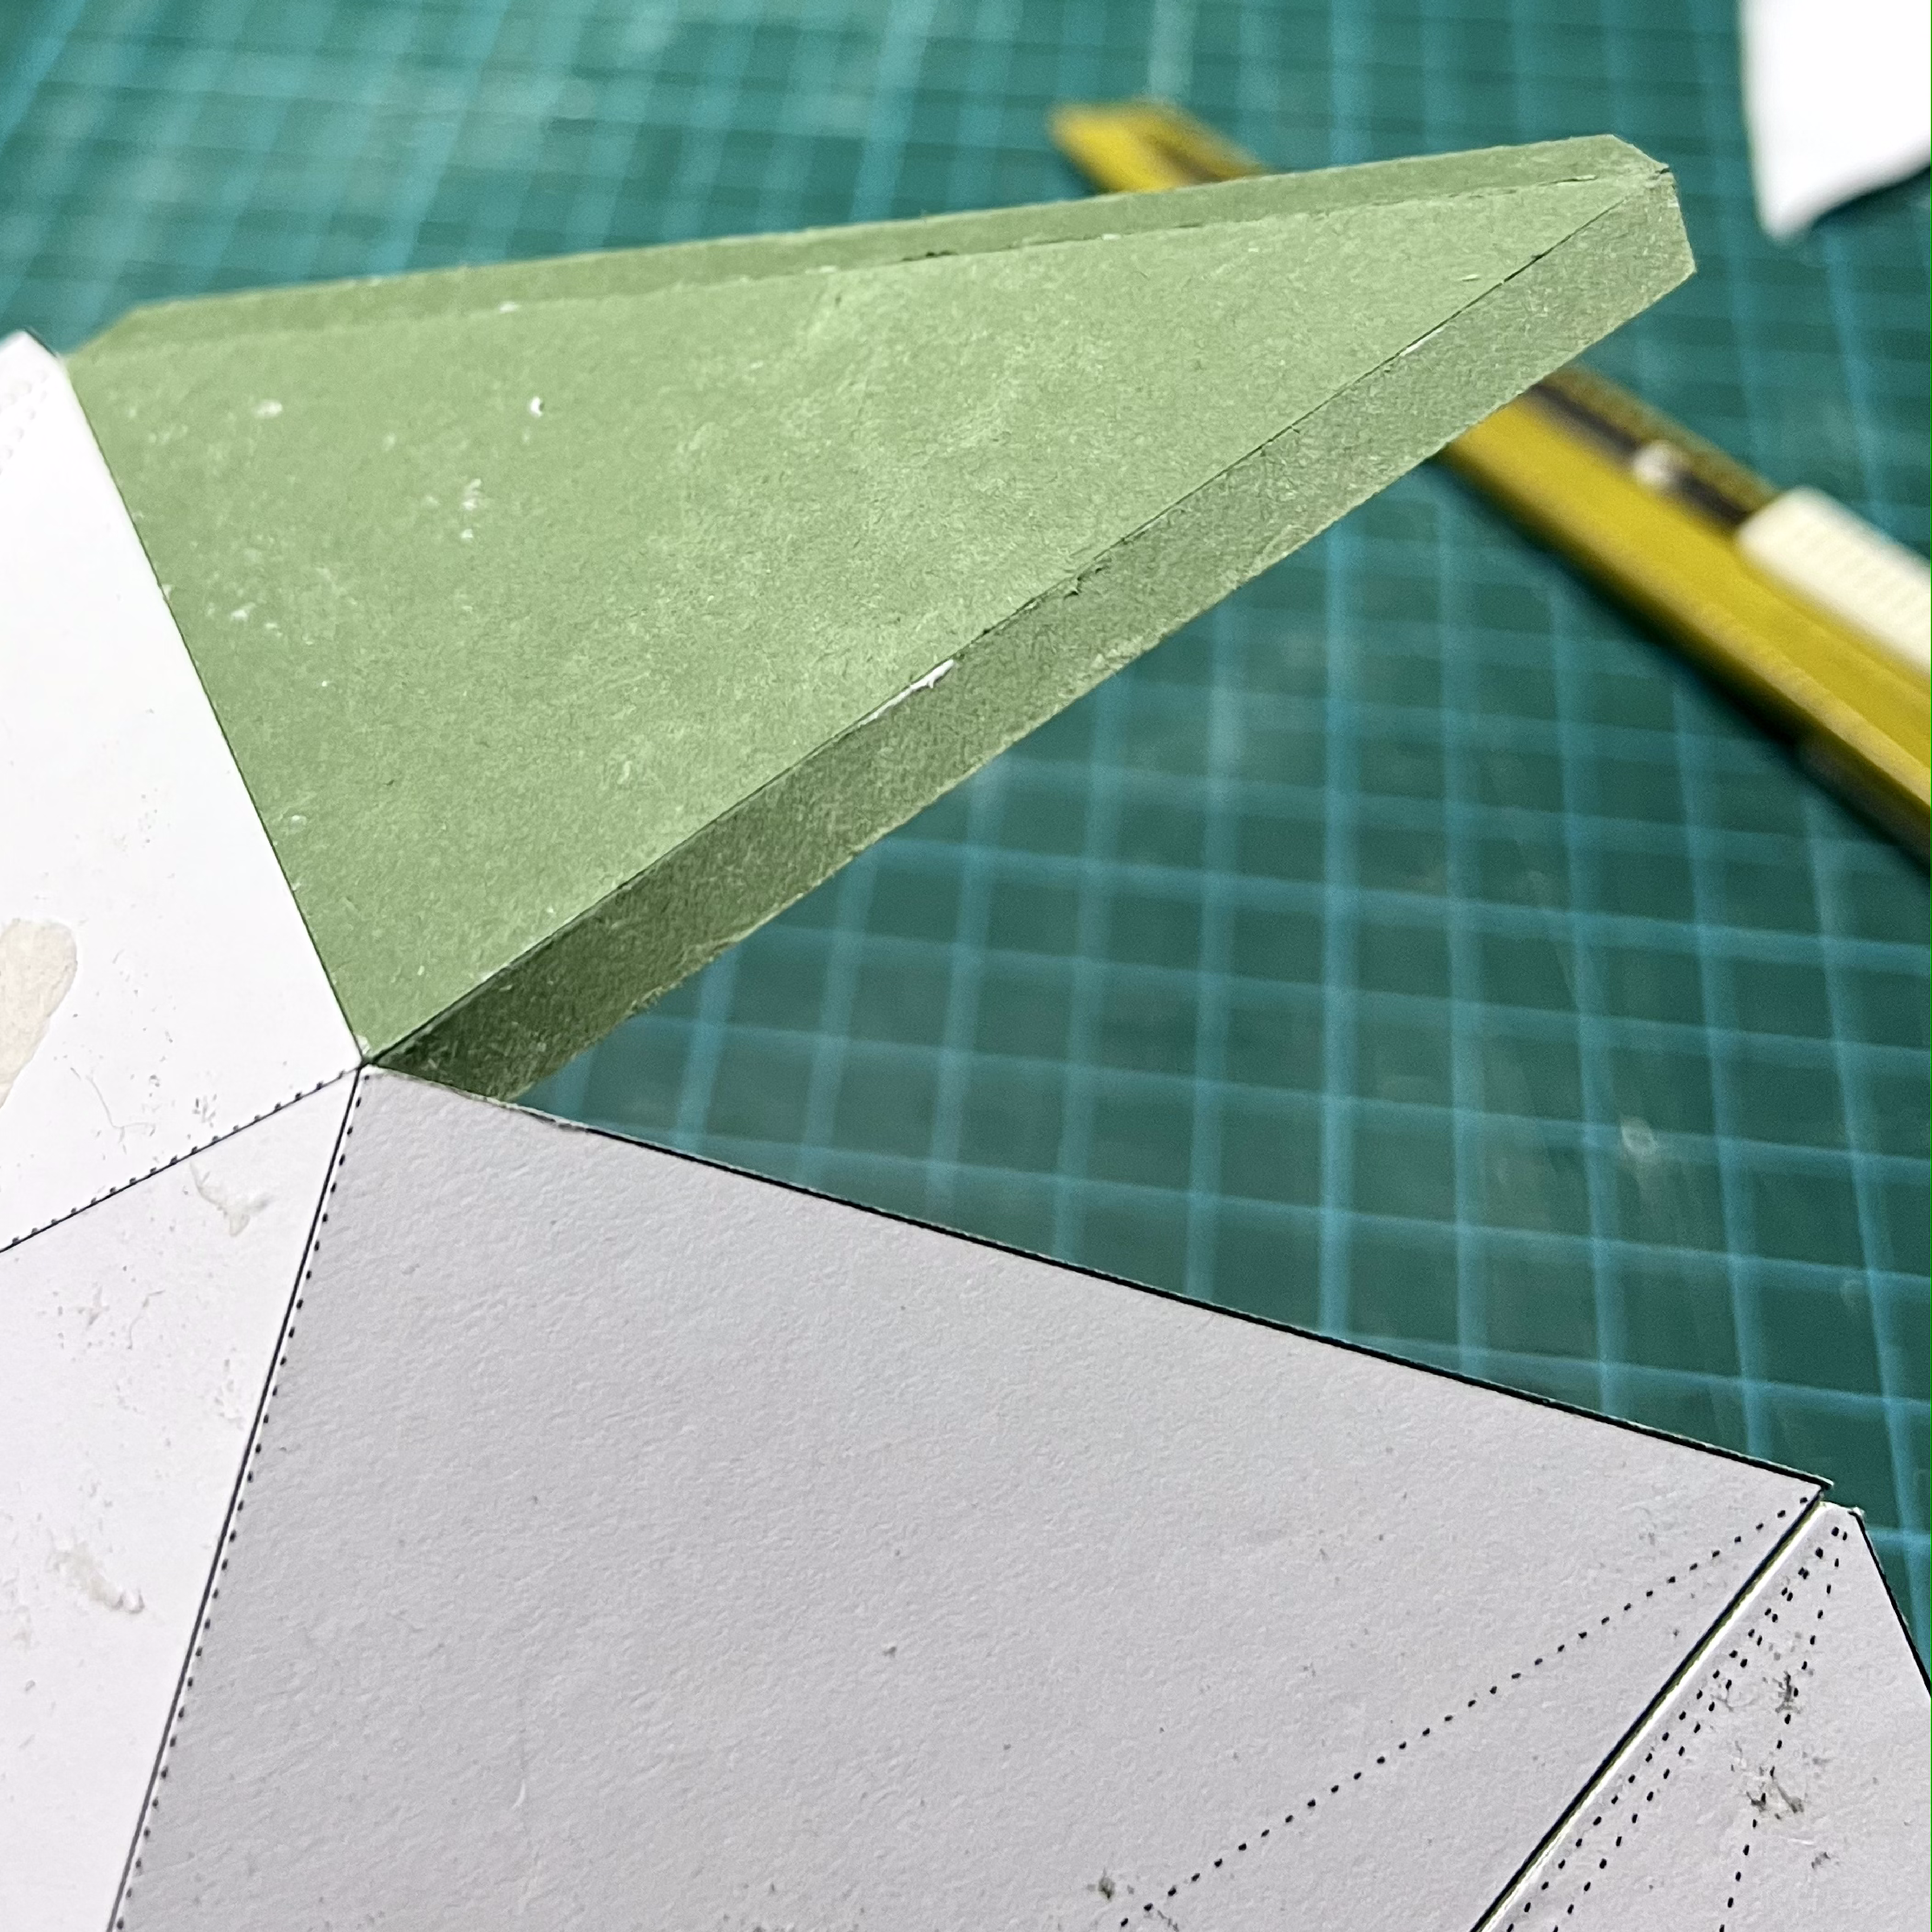
Through trial and error, I realised that plastic sheets were hard to work with and needed a lot of accuracy as the material was translucent, meaning that the super glue would be able to spot easily (as it cures and makes the plastic look frosty).

I felt that more experimentation could have been done with testing the different types of glue to see which was the most suitable for the plastic sheet material. Lastly, if I used a more see-through type of plastic sheet, the overall appearance would be different as the green cube inside would be more visible.

4. PLAY
PHYSICAL COMPUTING

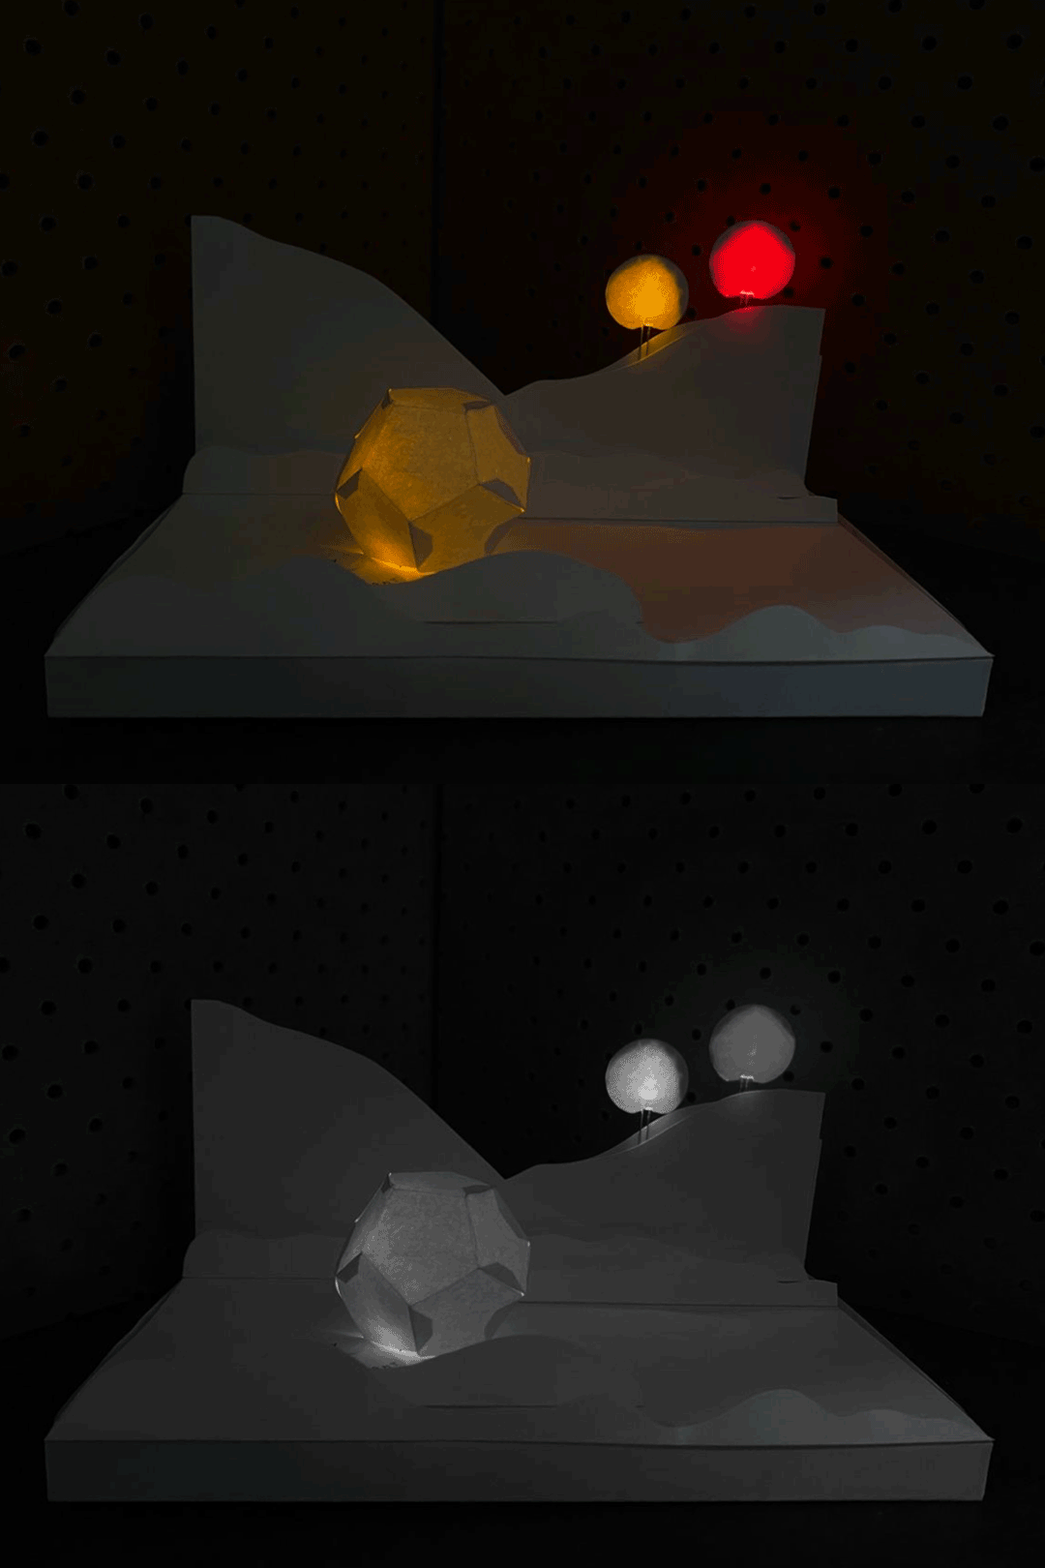
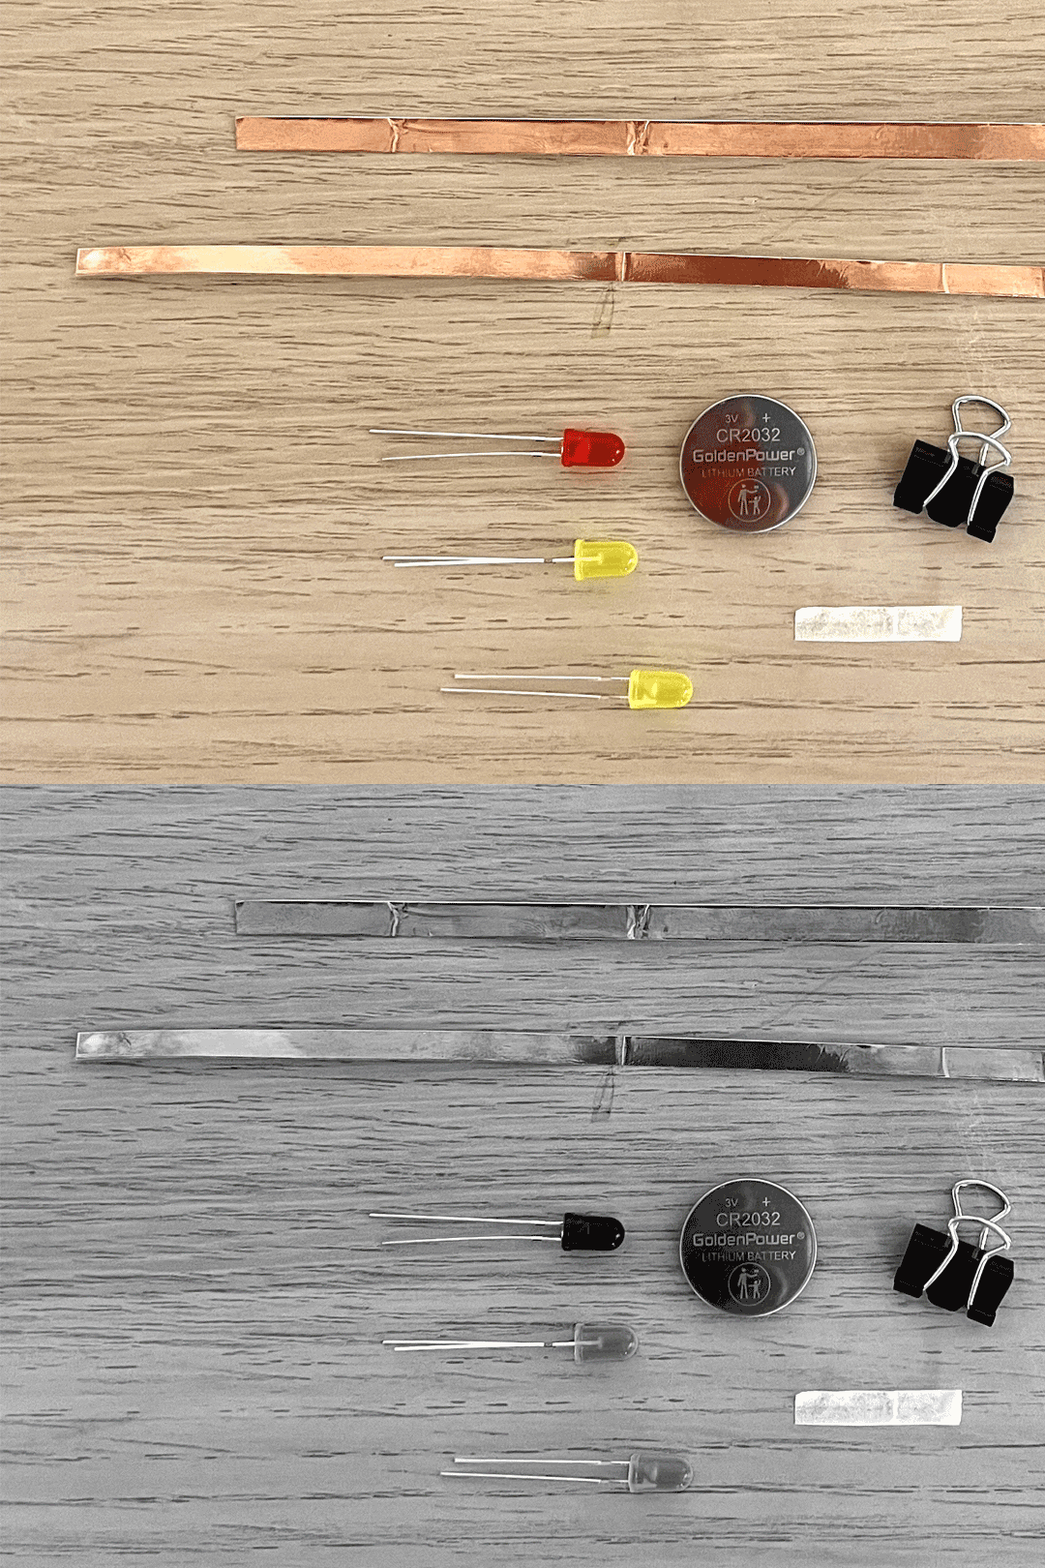
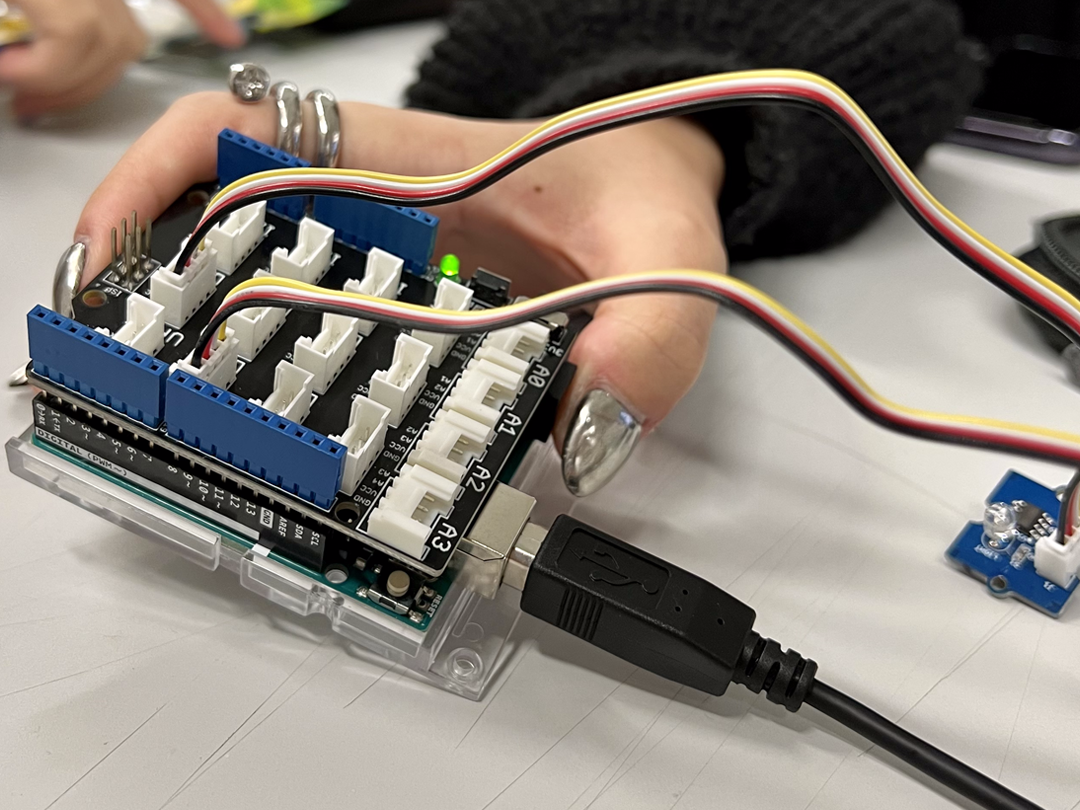
Starting off with the basic necessary items, we were introduced to the copper tape, a coin battery, different LED-coloured lights, bulldog clips, and masking tape. After referencing a landscape image from Star Wars, we started planning how we wanted the cutout to look like. We planned the layout and the positioning without sticking down first to make sure it works. Through trial and error of the different pasting methods, we had to try out the actual circuit and realised we had to use a bulldog clip to secure the battery to the copper tape that was on the paper. We took a while and struggled a little but managed to get it. Through observing the landscape image, we played with the different variations of how the hills could look like.

During the process, we tried different ways of dispelling the lights. We noticed that the white LED light direction did not disperse as much as the others, so I tried sanding down the plastic shell’s surface. Sanding it down would allow the light to be evenly-distributed. Though it did work, we did not proceed with white as the connection to the circuit had some issues if we wanted to use white and another colour.

Throughout the process, I felt quite proud of the effort my friends and I have put into this as we felt that the entire process was fun. We used the existing knowledge from Dhiya’s class and applied it to this assignment through using Blender for the paper model. This allowed us to achieve the hexagon sphere.

PROCESS

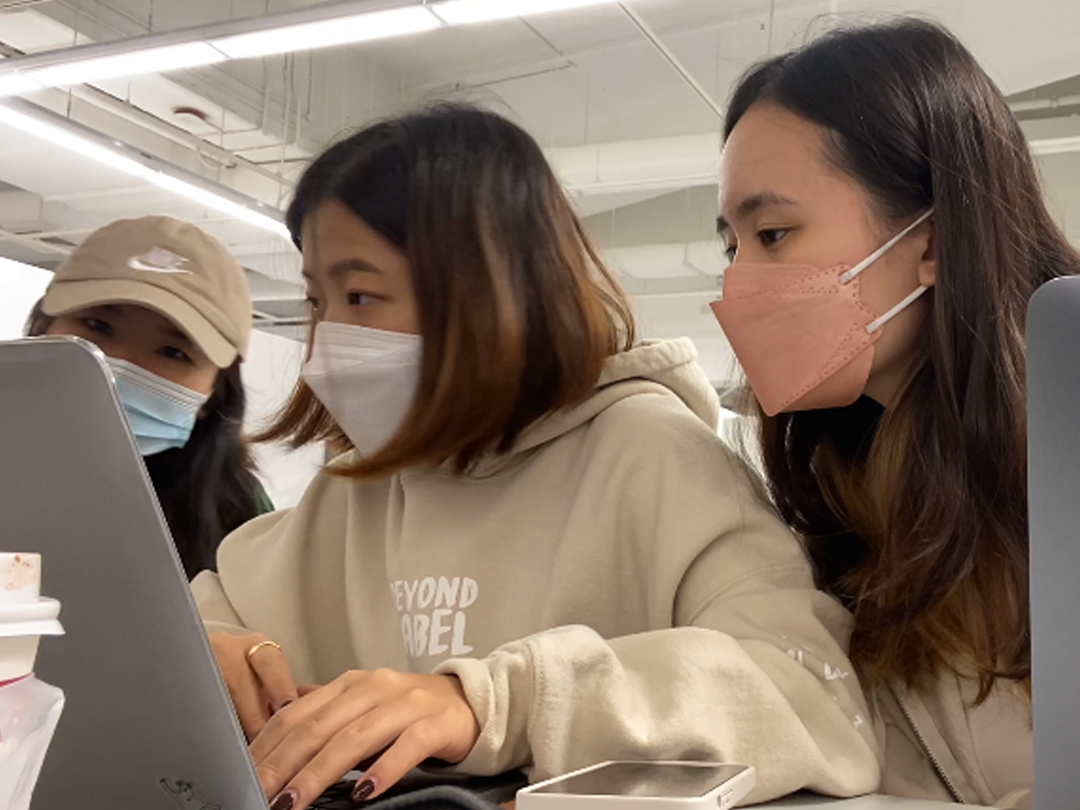
Throughout the semester, I was able to work with a number of my friends and the whole process was very enjoyable as we gave it our all for each workshop. The excitement of creating something together was thrilling, form the start of the ideation process, to finding visual references, planning out what was needed in order to accomplish the task, to actually making the work needed for each workshop. Discussions and collaborations are always a blast.

I am addicted to design.
by Nendo's Oki Sato

CONCLUSION

WHAT WAS LEARNED? Other than learning how to score the paper, find what kind of paper and materials was suitable for paper model making, I managed to learn a couple more skills throughout the weeks. Using a software and teaching ourselves from scratch to figuring out the calibration for projection mapping and creating something as simple as a paper circuit all felt like mini celebrations for me as the trial and errors made me learn more.

INTERESTING FINDINGS: Over the course of the semester, we have worked with a couple of different materials and learned new skills and techniques along the way. Being able to experiment with a different material such as plastic for the Making workshop was exciting for me as it was something that I had interest in, playing and experimenting with different materials. Delving deeper into researching for existing materials that were considered biomaterials was fascinating for me as it allowed me to think that more of such materials could be used in different ways in the near future, such as packaging.

SOME ACHIEVEMENTS: Some may find it simple but I felt that it was an achievement to be able to create a successful paper circuit. Anything related to physics has never been a strong suit of mine so to be able to accomplish that with the help of my group mates felt like a small celebration for me. Furthermore, to be able to understand a software's basic functions through YouTube tutorials felt nice as I felt that it was not the easiest thing to follow through. Getting a head start in understanding the software definitely gave me more time to familiarise myself with the software and I hope to be able to do something of interest with the software in the near future.